Versions Compared
Key
- This line was added.
- This line was removed.
- Formatting was changed.
This screen is a popup navigation menu that can be used to access the many (lesser used) screens that are not listed along the top of the screen in VetView. These screens are mostly setup screens that are usually restricted to admin.
...
| Panel | |||||||||||
|---|---|---|---|---|---|---|---|---|---|---|---|
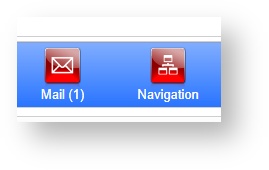
The Navigation Menu is present on the corner of every user's screen that has the Navigation page enabled. (It can be disabled for users who only need to access one or two screens which are already present on the Header bar.)
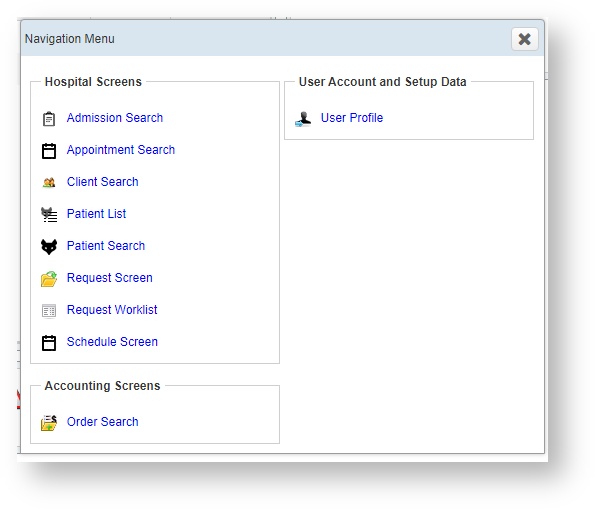
Because VetView's screens often have restricted access, and it would be impossible to have an icon for every screen at the top of the Header bar, the Navigation menu is used to allow access to the less common screens within the system. Menu Will Appear Different For Every UserFor users with only a very few privileges, such as a new student or a temporary worker, the Navigation menu will only show the screens they have access to.
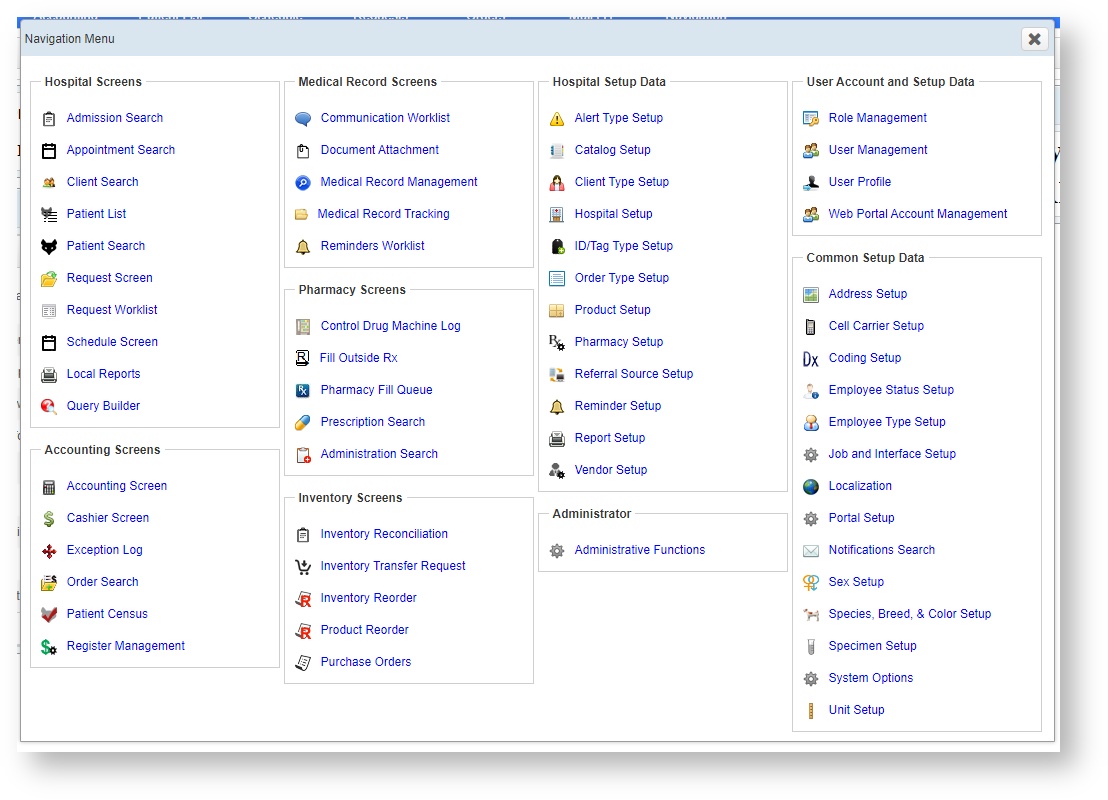
For a user who has access to all of the screens in VetView, such as the hospital administrator, then many more options will be available under the Navigation button.
GroupingsThe pages are grouped together roughly by category. Common Setup Data includes administration screens that impact both Vetiew Labs and VetView Hospital, for schools that are utilizing both aspects of the system. The systems in VetView and their groupings in Navigation include:
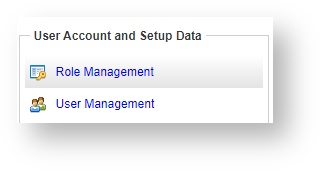
Screen Access Control via Role ManagementThe easiest way to grant access to a cluster of screens is to add screen access via Role Management, and then assign the user the role.
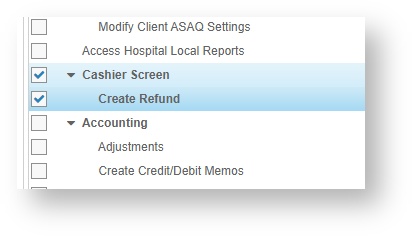
For example, a Cashier role may need access to the order management and cashier screens, client screens, and patient records, to verify that the client billing information is up to date, and that the charges listed on the order are accurate and correct for the patient. Thus, all of those screens can be grouped together as a Cashier role, and then assigned to any user in your hospital who will perform those functions. When the Cashier role is assigned, those screens will always be available on their Navigation screen, regardless of what other roles they have been granted. As this Cashier role has not been granted access to the higher level accounting screens, they can only take payments and issue refunds, and not create adjustments, which requires access to the Accounting screen.
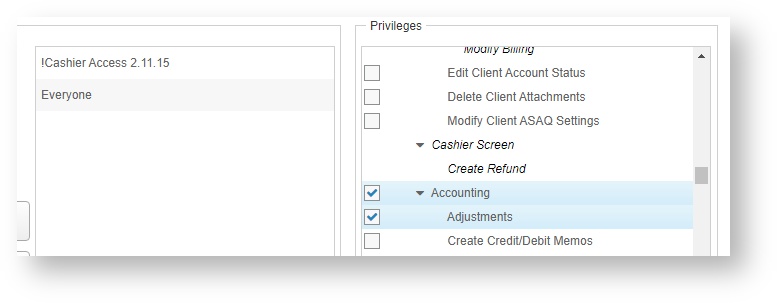
Screen Access Control on a Per User BasisYou can also add screen access to an individual user, as well as elevated privileges on a page they already have access to, if they have been assigned a specific task within your hospital that does not apply to other users in that role. Under the User Management screen, add the appropriate roles for the user, and then manually add the additional rights and privileges from the list to the right. This Cashier has been granted access to the Accounting screen, and the rights to make adjustments, but not to issue credit or debit memos. User Management privileges that are created via the Role appear in italics in this section, and cannot be taken away. Only new privileges can be added. To remove privileges in italics, you must remove the entire role.
|
| Insert excerpt | ||||||
|---|---|---|---|---|---|---|
|
| Table of Contents |
|---|
