| Panel | ||||||||||||||||||||||
|---|---|---|---|---|---|---|---|---|---|---|---|---|---|---|---|---|---|---|---|---|---|---|
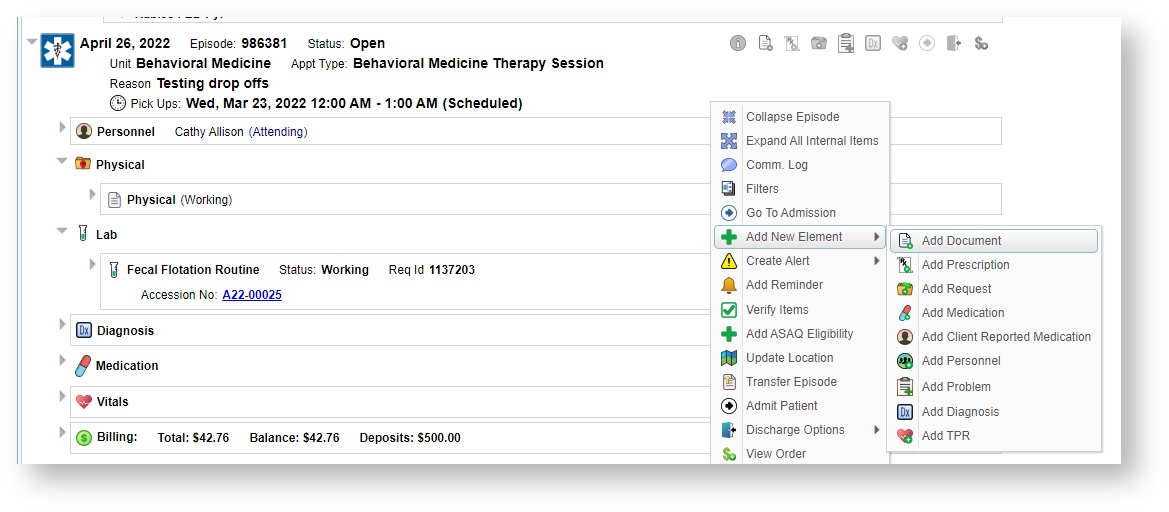
How do I add a document to an Episode?To add a document to a patient record, right click on the episode header. From the menu, choose Add New Element and then choose Add Document. In the example below, the patient is being seen by neurology. Behavioral Medicine You have been asked to add a History document to the episode.
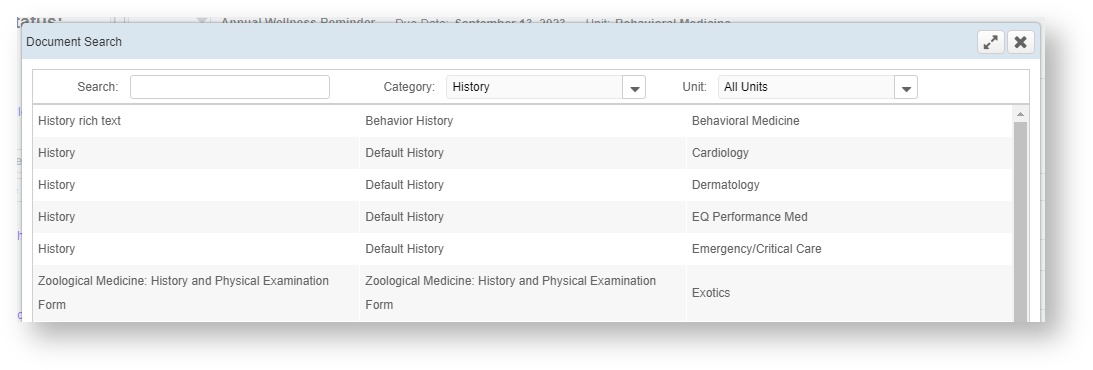
When you click on Add Document, a small window will open up that allows you to search for and select the appropriate document. You can filter by the Category or the Unit.
You can see the default History Behavioral Medicine history is in the second first row. Double click this row to add the default history. Or, you can see if there are any other History documents that might be more appropriate. Choose Category to see if there are any other history documents available.
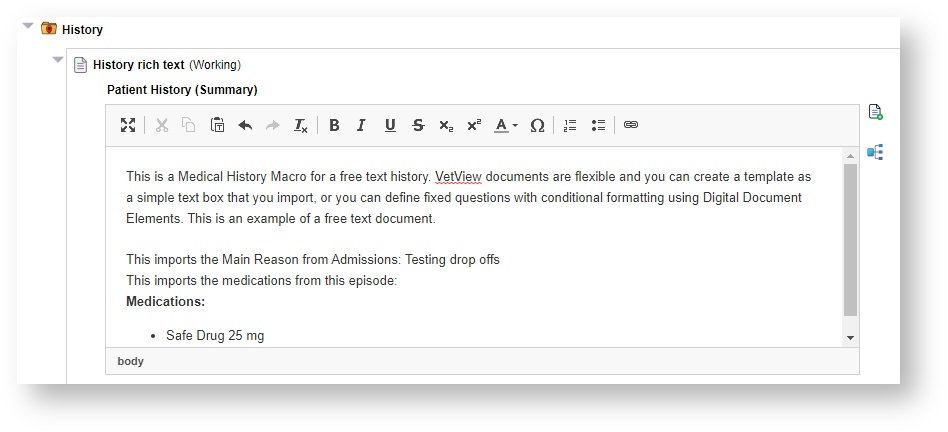
In this example, the Default History is the only appropriate catalog item, as the other available option is a test document. How do I edit a document that has been added to the patient record?When you double click the default History, the document will appear on the episode in a newly created medical record category called History. From here, you can begin to fill in the appropriate text to describe the patient's history. Some documents will come pre-filled with text. Others will need to have the text imported using a Macro.
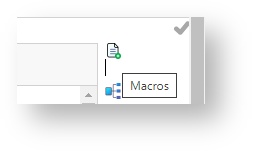
Because your school may have a recommended format and because the documentation may be very text heavy, VetView allows you to save and restore user macros so that large blocks of text or commonly used phrases can be quickly added to a document without having to retype everything. How do I use a macro on the patient record?Click on the small plus sign on the paper next to any digital document text block.
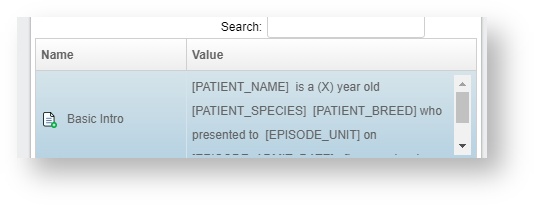
Any macros that your school has made available for everyone to use (Global Macros) will appear in a small window. You also have the option to create and customize your own macros.
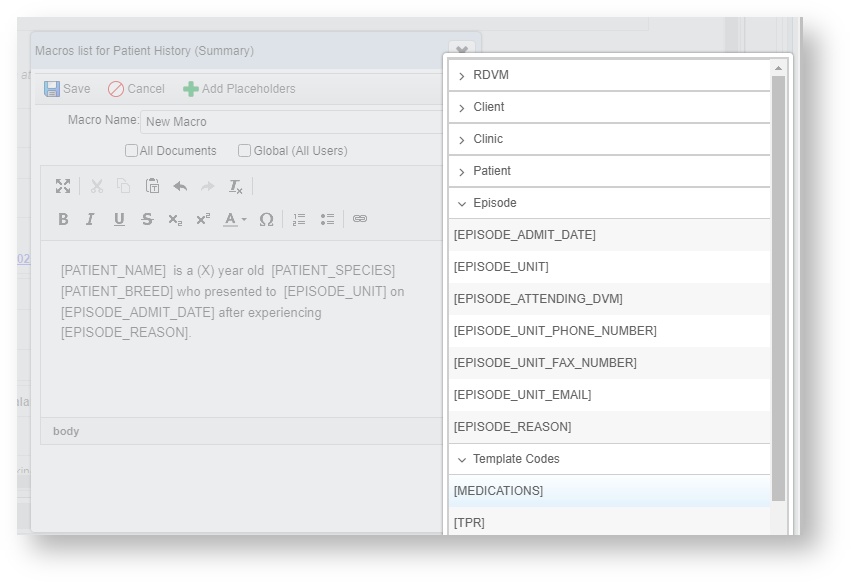
Click on New Macro to create your own custom macro. You can fill in plain text, or you can set the macro to automatically pull in known patient or client information. Click on Add Placeholders to open the placeholder window pane to the left.
The All Documents tab flag means that you will be able to open this macro from any document that uses this particular document element, not just documents of the type you're currently working on. Click on the Save button. If you have an elevated privilege you can save a Global Macro that is accessible by all other users, but this is generally reserved for supervisors if they want to set up standard documentation for everyone. Your macro will be available for you to reuse every time this digital document appears on a patient record, or if you chose All Documents, then it will appear each time this document element is used.
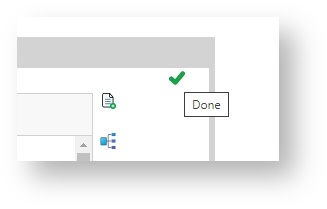
Double click the macro to insert the text into the Digital Document element. After the text is in the document element, you can make any changes you need to before saving the document. This will not affect your stored macro. How do I save changes to my document?When you have finished entering the text of your Document, you can save it by finding the small green arrow that is next to each element and clicking it. This marks the section as Done.
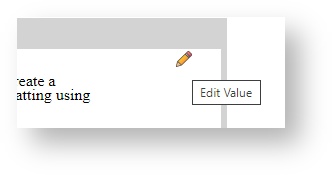
After you've clicked Done, you can go back at any time and Edit the document. You can correct typos, add more information, even pull in another macro.
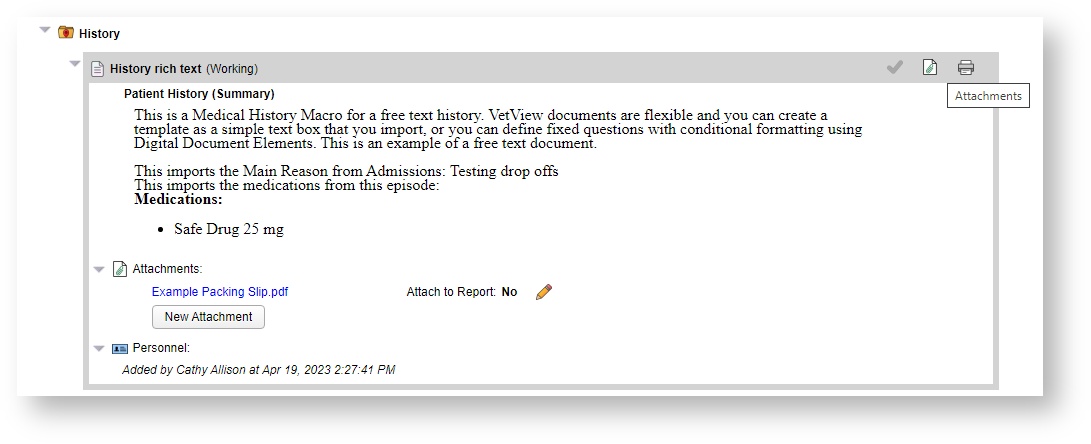
How do I add an attachment to a Document?You can add Attachments by clicking on the paperclip in the corner. Attachments can be things like scanned history records from a previous visit, photos of the animal, or any other pertinent information given to you by a client, such as a seizure log. Click on the Add Attachment button to open a finder window that will allow you to select the correct file to attach. After you have attached the file, click on the pencil icon to add any descriptive information. Attach to Report means that the file should be placed at the bottom of this document when it is printed. You can also replace the report with the attachment, if it's a previously provided history and you don't need to fill the entire thing out again.
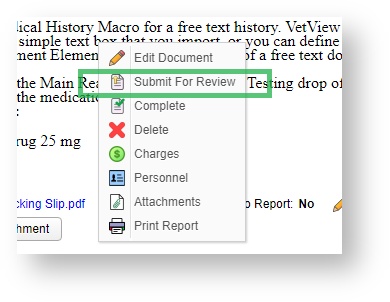
When you are satisifed satisfied with how the document looks, and you are ready for a supervising clinician to review it, click on Submit for Review from the right click menu in the document. (Note that the right click menu may look different for each VetView user, so not all options will be available to everyone.)
Once you click Submit for Review, your document can still be edited at any time prior to when your supervisor actually verifies it. Once a document is verified, it can no longer be edited without the supervisor reopening it. |


| Insert excerpt | ||||||
|---|---|---|---|---|---|---|
|
| Table of Contents |
|---|