Labs Worksheet (3.0 and earlier)
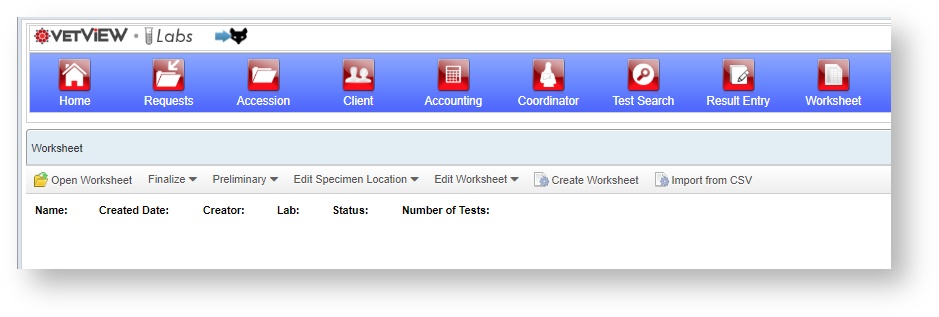
Labs Worksheet
The Labs Worksheet screen allows a user performing a batch of accessions to search for their assigned work, create a spreadsheet style form for data entry, and perform the tests and data entry all at once.
Create Worksheet
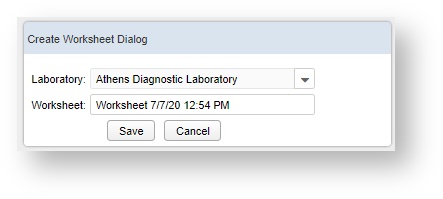
To create a new worksheet from scratch, click on the Create Worksheet button. Enter the lab for the worksheet, and give it a name, then click on the Save button.
Additional dialogue entries will become available: A data entry field to scan the barcode number for the Accession, and a test filter to choose which tests will be performed on these specimens.
Accession Must Be Created
The accession must have already been received and processed to add it to a Worksheet. If a specimen does not have an associated accession, it cannot be added to the worksheet. Contact accession receiving if you get an error about the accession or test not being found.
Open Worksheet
To find a worksheet that was already pre built with accessions, go to Open Worksheet and search for the name of the worksheet from the list. You can further filter it down to only worksheets created by the logged in user, if there are many worksheets available for that lab.
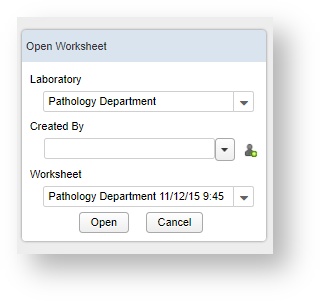
The worksheet will load in the section below. Only accessions that have not been finalized can be edited on a worksheet.
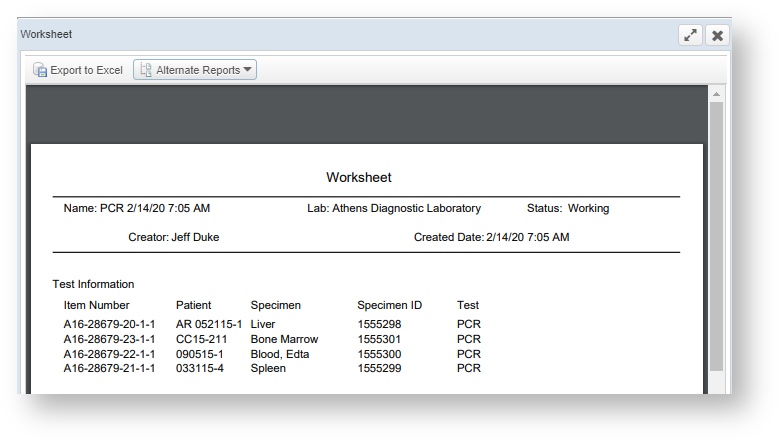
Test Information
Once a worksheet has been created or opened, the tests will display in this section. There are two halves to the Test Information list: The left hand columns can be hidden but cannot be edited, as they contain the accession information. The right hand columns cannot be hidden but can be edited, so long as the tests are not in a finalized status.

Print Worksheet
This button opens up a PDF version of the worksheet to allow you to print and then process the list on paper or cross check it against the samples in a machine that is not near your computer.
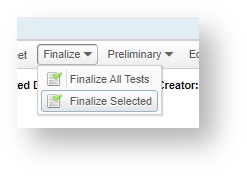
Finalize
The Finalize button has options to finalize all the tests in the worksheet, or only selected tests.
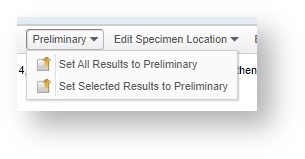
Preliminary
The Preliminary button has options to set all results to preliminary, or only selected results.
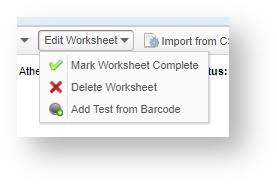
Edit Worksheet
The Edit Worksheet button has options to Mark Worksheet Complete which will remove it from the Open Worksheet list, to Delete Worksheet which will remove it from the Open Worksheet list without marking it as Completed, and to Add Test from Barcode if there are additional tests you need to add to the existing worksheet.
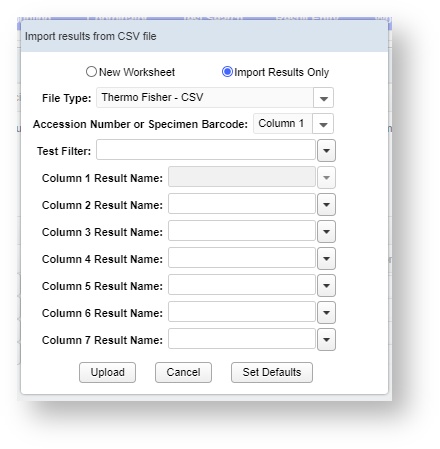
Import from CSV
This option, available in VetView 1.7.10 and 2.0.5, allows you to import the results from an external machine that does not have an electronic interface that can speak to the API but can only release results onto a USB drive. You will need to select the correct test, manually match the columns on the CSV to the output columns on the test, and then Upload. You can choose to create a new worksheet, or imported the results to an already opened worksheet. All results imported in this manner must already have an accession associated with them, or else the import process will fail.
This process only works with a limited number of external testing devices that do not have the ability to interface with the VetView API. Please contact Jeff Duke for any questions about this import process.
Reports
The Reports button allows you to have additional Local Reports that are not variants on the Print Worksheet. This button will only display reports if your Labs administrators have made them available. It may not be present on all installations of VetView.
VetView Wiki Most recent releases of VetView: Version 4.1.3 Hotfix (Released 2/16/2024)