How To Prepare an Accession
- Checkmarx Bot (Unlicensed)
- Cathy Allison
- Rainey Lynch (Unlicensed)
- Andrew Hanneman
How to Prepare An Accession
VetView's workflows support two sources for new accessions: They may come in automatically via VetView Hospital or other hospital software in the form of a Labs Request, or they may come in to your Accession Receiving department as a manual process alongside the specimens collected for testing.
How do I start a new manual Accession?
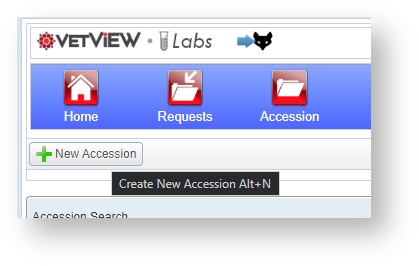
On the Accession Screen, click on the New Accession button at the top, or press Alt+N as keyboard shortcut on this screen. From any other screen in VetView, you can press the Alt key, and click on the Accession icon in the header bar to load a new accession screen directly.
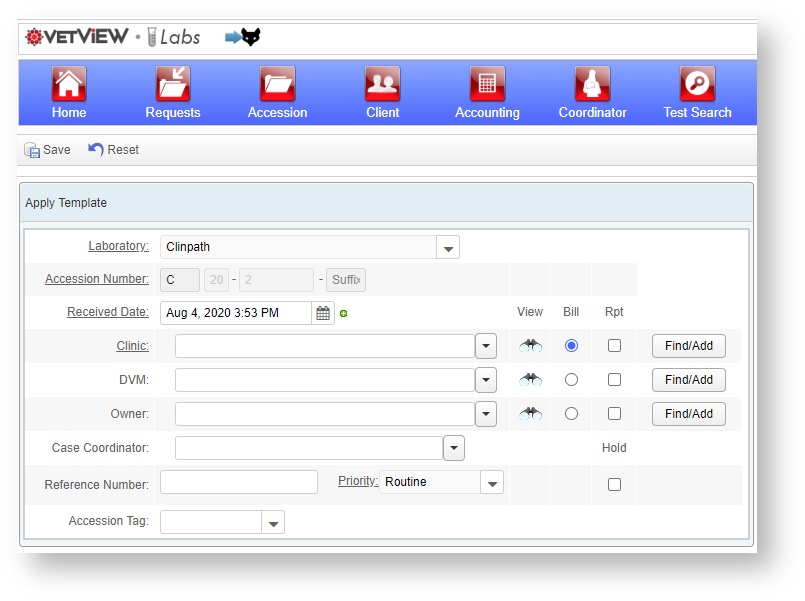
How do I fill out an Accession Header?
The screen that loads is the Accession Header. This section contains the client and billing information for the accession.
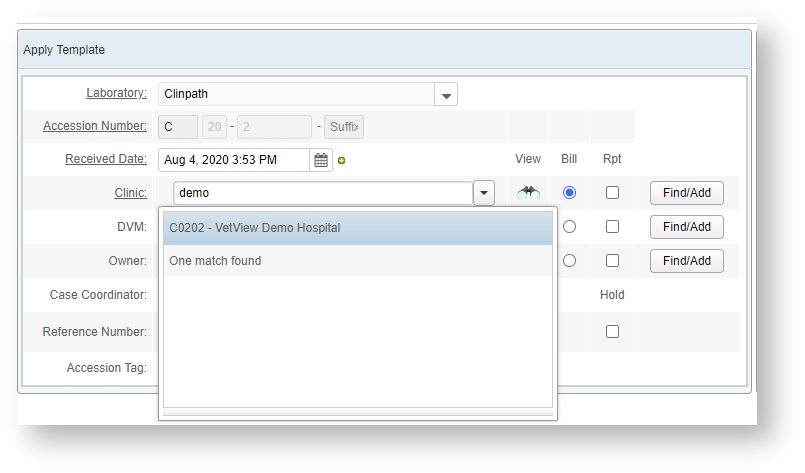
How do I search for existing clinics DVMs, and owners?
The header for each lab can be customized. In the example above, the Accession setup requires a clinic, and optionally calls for a DVM and Owner.
To search for an existing Clinic, simply start typing the name. These are "smart search" boxes and they do a live search on all existing Clinics in your system and display possible matches.
Select the correct match to add the Clinic. Repeat with the DVM and Owner. If there are no matches, you can add new clients right on the Accession Header screen.
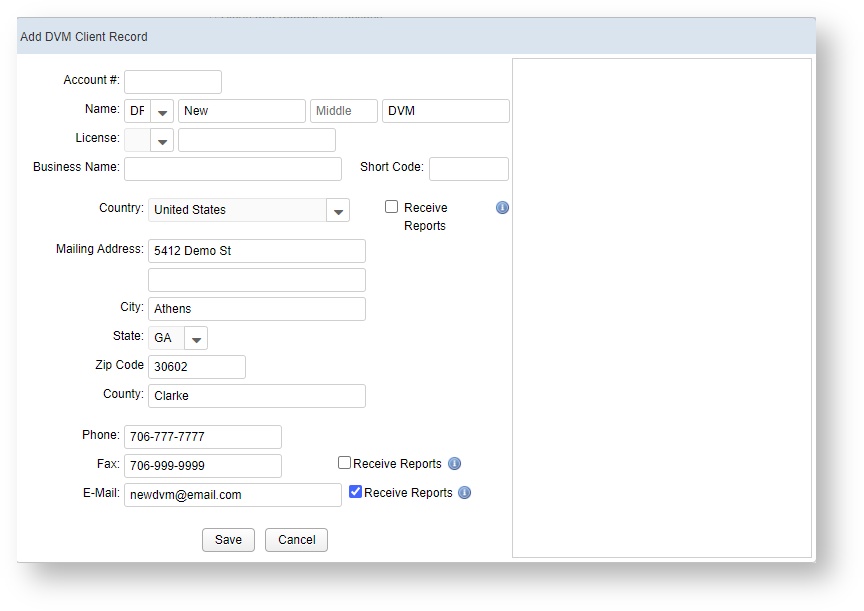
How do I add a new clinic, RDVM, or owner?
Click on the Find/Add button next to the search box for Clinic, DVM, or Owner. A new window will appear that allows you to enter in the name, address, and contact information for the client.
As you start entering information, potential matches will appear on the right hand side. At any time, you can stop entering the information, and double click the match on the right to select them.
When you have entered in all of the information, click on the Save button to add the new client to the accession header.
What other options can I add on the Accession Header?
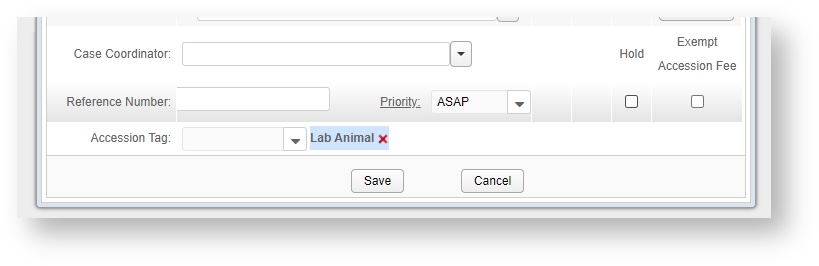
The Accesion Header also allows you to assign the accession to a Case Coordinator, for labs where this role is used to review the preliminary tests and manage client relationships.
You can also add a Reference Number, such as the number for the accession assigned by the external clinic or requesting lab.
Test Reporting
If this test is one that is going to be reported to a state or national database such as NAHLN, you may need to have a reference number assigned to track against your certificate authority. Check with your department to see which tests require this kind of reference number.
You can set the Priority for the accession. Priorities can be customized for your lab, so if you lab has special handling beyond the standard Routine, STAT, and ASAP categories, you can set those up.
Accession Tags are a collection of labels you can build and assign to accessions for later searching. This can be especially useful for research, if you want to find all the accessions that were marked with a specific tag regardless of their lab, workstation, or priority.
The Hold tag allows you to delay sending the report or the invoice until the hold is released. Exempt Accession Fee allows you to charge this client only for the cost of the tests on this accession, not the fees normally charged for accession handling.
When the Accession Header is done, how do I Save it to start filling out the rest of the information?
The Save button for new Accessions is at the top of the screen. When the minimum information to save an accession has been added, you can Save to create the new accession. The Header information can be edited later on by any user with the Edit Header privilege under Role Management, so if the wrong billing party was indicated or the accession was assigned to the wrong coordinator, this can always be changed.
After Saving, the main Accession Screen will load to allow you to start entering patients, specimens, and tests.
How do I add a patient to an accession?
When the Accession Screen loads, you can start adding patients, specimens, and tests to the accession. VetView stores this information in a hierarchical structure called the Accession Tree.
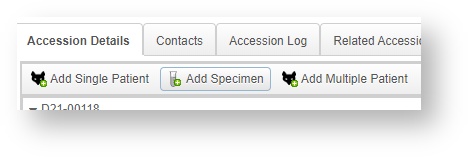
For Accessions that are multiple tests to be run against a single patient, start by clicking on Add Single Patient. For an accession that will be the same test run against multiple patients, you can click on Add Multiple Patient instead.
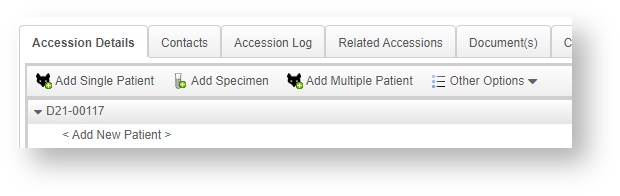
You can also right click on the Accession Tree where it says "Add New Patient" to get a menu option to start with a single patient.
How do I add a single patient?
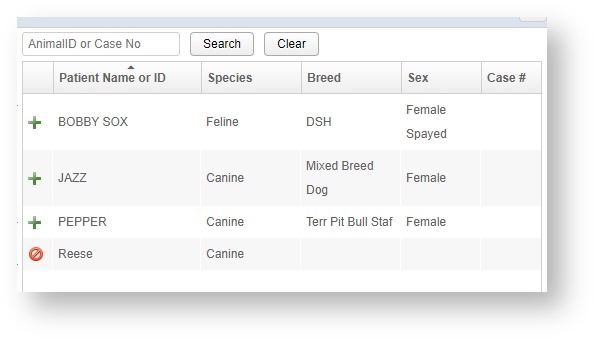
Clicking on the Add Single Patient button opens the Add Patient Dialog box.
You can start by entering the new patient's name, species, and breed on the left hand side.
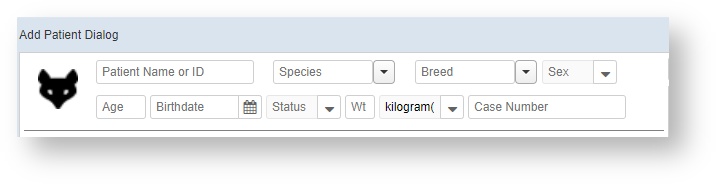
Or, if this patient has had tests run with your lab before, select the correct patient on the left hand panel. For a large number of patients, you can filter by the animal ID or case number at the top. (If a duplicate patient is created by accident, the patients can be merged by a lab administrator at a later time.) Note that only patients associated with the selected client information in the header will appear.
How do I add Multiple Patients?
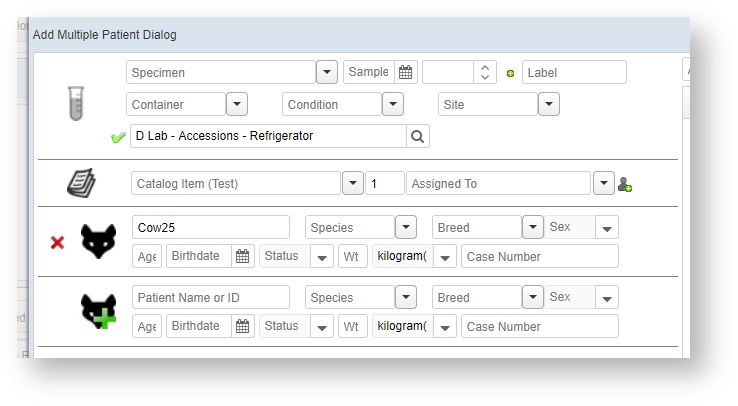
Click on the Add Multiple Patients button. The Add Multiple Patient Dialog will open. Unlike the Single Patient, where you start by entering the patient demographics, for multiple patients you have the option of starting with a common specimen. However, you can start by building out the patients from the middle of this box as well, and fill in the specimen information any time before saving.
As soon as you enter a patient name, a new row will appear to enter the next one.
How do I add a specimen?
Specimens can be added directly on the Add Patient Dialog boxes, or separately onto the accession by clicking on the Add New Specimen button.
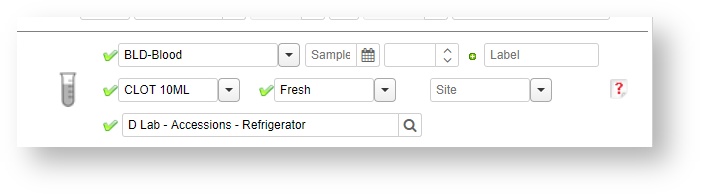
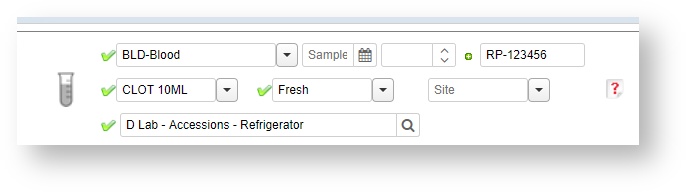
Enter in the specimen type from the list (as pre-built by your lab administrators), the sample date if known, the type of storage container, the state of the sample (fresh, frozen, etc), and the site of the specimen for dermatological tests or other tests where it may be relevant.
The Label is helpful if there was an outside tracking number to associate this specimen with the patient.
You can also indicate a Specimen Location, which allows for specimen tracking through the lab as it progresses from one location to another.
If your lab has requested that you answer additional questions regarding specimens, you can access them by clicking on the question mark.
How do I add a test?
You must have a specimen in order to add a test. The test can be added at the same time as the Patient and Specimen on the Add Patient Dialog.
Start by searching for the test by its Catalog Item name.

This box is a smart search box, and will instantly change to a list of matching results once you start typing.
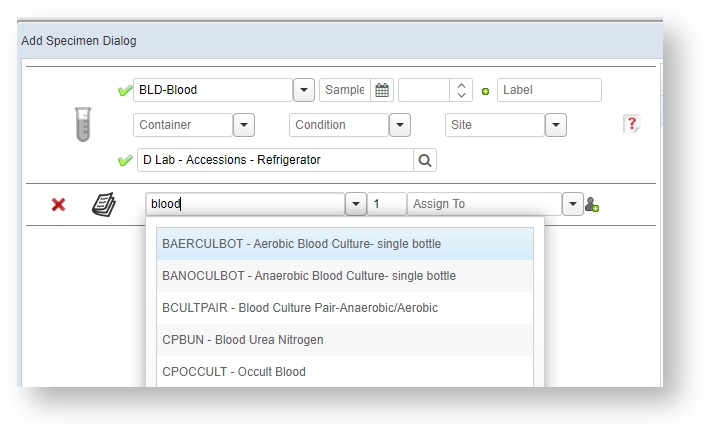
Select the correct test from the list, and it will be added to your Specimen.
How do I add a specimen without a patient?
While VetView requires a specimen to add a test, we do not require a patient. An accession can be built with anonymous samples with unknown patients.
Instead of clicking on the Add Patient button, you can click on Add Specimen to open the specimen and test dialog box with no patient.
Be sure to track your specimens with labels carefully to allow for you to identify them as there will be no patients for identifiers!
Accessions containing specimens without patients can also be searched for under the More Fields options in Accession search, as of VetView 2.0.7.
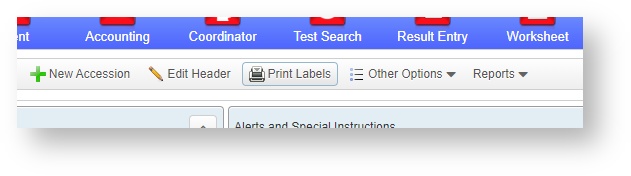
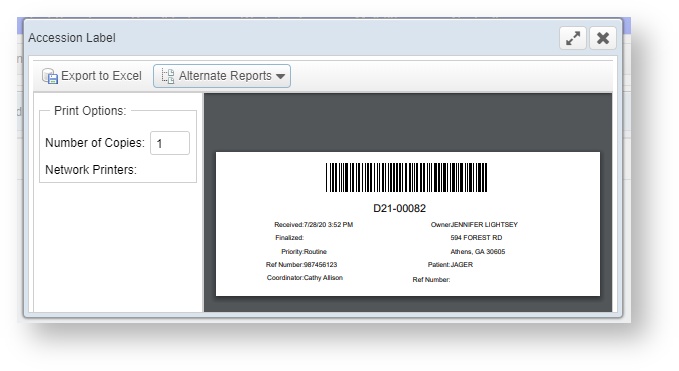
How do I print my Accession labels?
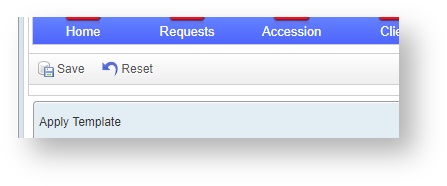
Once you have added all your patients, specimens, and tests, you can print the Accession Labels by clicking on the button at the top of the screen.
Choose the Template Type from the list, then click the Print button.
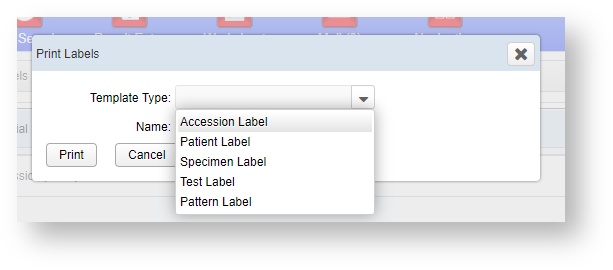
A PDF dialogue box will open to allow you to choose how many copies of the label you need, select the correct label printer from the list of Network Printers, and also Export to Excel if you need the information in a comma separated value list (to build an import for a Worklist or for a machine not connected via the API.)
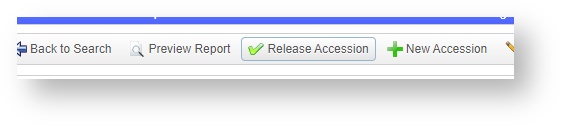
How do I released the accession to change it from New to Working?
Once all the patients, specimens, and tests have been added to the Accession Tree, and you have printed all the labels that you need, the Accession can be Released from New status to Working status.
Clicking the Release Accession button at the top to indicate that the Accession has been prepared, and is ready to begin testing at its ultimate destination.
VetView Wiki Most recent releases of VetView: Version 5.0.4 (Released 3/10/2025) and 4.2.10 Hotfix (2/28/2025)