How to Setup Billing between Performing and Receiving Labs
How to set up billing between Performing and Receiving Labs
VetView can automate the billing of expenses between your lab departments. By linking the two labs together under Lab Setup, you can keep track of tests that are collected and performed from one lab unit to another and simplify the associated accounting processes.
Your Labs Need Clients
In order to facilitate the automated billing, you will need to add a Lab Client to represent your labs. This allows the performing lab to send the charges to the receiving lab like any other client.
How do I know what client to use for my labs?
The Receiving Lab will need to have a client account set up to represent the lab. You can set this as a standard Direct Charge, or create a custom Client Type called Receiving Labs.
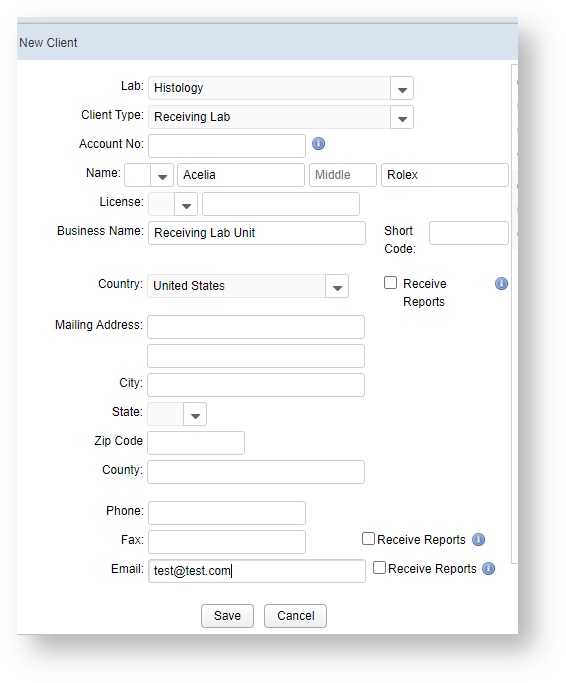
If you do not already have a client account designated, create a new client account in VetView as your first step. Select the Performing Lab itself as the Lab (so this client will be available under that lab's Lab Setup), the Client Type, and enter in a contact name or business name. Additional billing information can be added in as needed, but the bare minimum needed to create an invoice is the name and client type.
How do I link the two labs together?
Under Lab Setup, find the lab that will be designated as the Performing Lab.
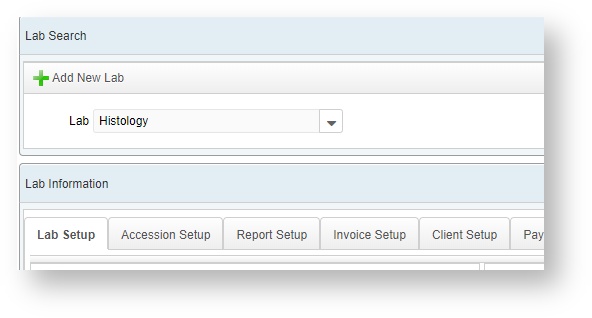
Go to the Client Setup tab.
Click Add under the Receiving Lab Client Accounts.
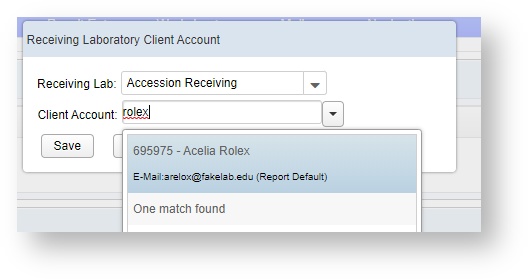
Select the Receiving Lab and the matching Performing Lab client that you just created to represent it, and click on Save.
How will the charges appear for each lab?
To the Receiving Lab, it is an expense and shows up on the Accession Screen. On the Accession Screen, you are able to view both the expenses and charges.
To the Performing Lab, it is a charge and shows up on their Accounting Screen and can be processed just like charges to any other client.
VetView Wiki Most recent releases of VetView: Version 4.1.3 Hotfix (Released 2/16/2024)