How to Verify a Document or a Request
- Cathy Allison
How to Verify a Document or Request
The Verification process in VetView is integrated with all Digital Documents and certain Smart Objects within the patient record.
- Documentation that is set up to automatically be sent via the Communication Log will not go out until it has been verified
- After Discharge, the patient record is considered deficient until all documents and requests that require verification have been marked as verified
Verification in VetView
The purpose of verification is a double check that the document has been completed accurately and appropriately. Because of the customization allowed for digital documents, the system is not always able to determine if the needed information has been added to a document. The verification process ensures that a second pair of eyes reviews each document or request before it is forwarded to clients and RDVMs or the episode is formally closed.
Verification of Documents simply requires that the user be in a role that has the Verify Documents privilege for the catalog item, independent of unit. Verification of Requests requires that the user have the privilege Verify Requests, also that the individual user be a member of the unit for the request.
If you find yourself unable to verify a document or request that should be part of your review process, please contact your Unit administrator to ensure that you are in the correct hospital roles.
Verifying Documents
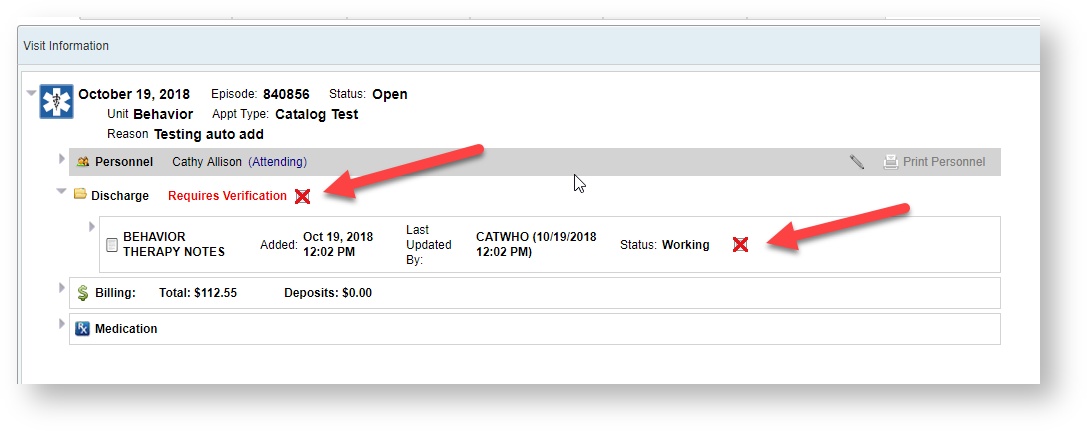
Items within a patient record that require verification will clearly state this next to the Medical Record Category of the documents.
The entire category is considered unverified (and therefore deficient on discharge) until all the documents that are within the category have been verified.
How do my students let me know that they have a document that needs to be verified?
Depending on your hospital's workflow, you can request that students or staff change the status of a document to Review by clicking on Submit for Review from the right click menu.
Clinicians can also send it back for additional work by choosing Revise from this same menu.
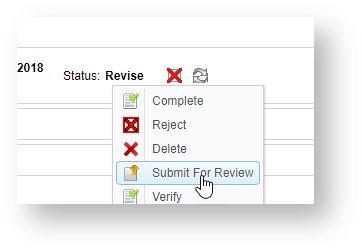
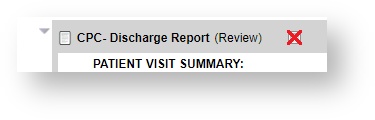
Once submitted, the status of the Document will change to Review.
How do I start verifying my student's documents?
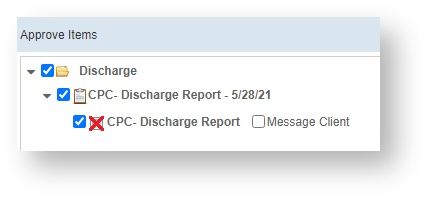
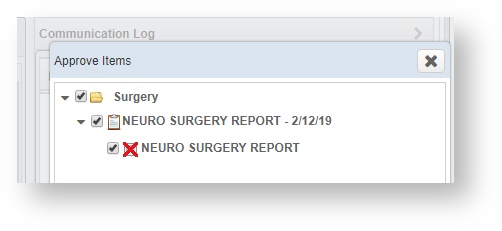
To verify the document, click the X next to "requires verification" or the specific document inside the category. This will load the Verification window.
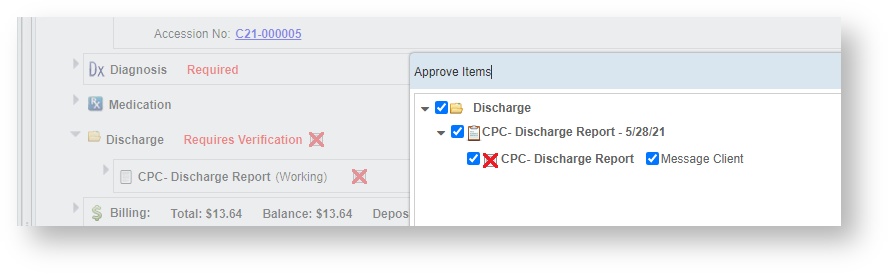
A list of all eligible documents for verification by the user will load. This window allows for "over the shoulder" verification of documents.
Note that the rights to verification are determined by the Username that has been put into name field at the bottom of this window.

If the student and supervisor review the documents together on the student's machine, the supervisor can verify the documents without having to log into another instance of VetView.
How to Verify Multiple Documents
A user with full rights to verify all documents will be able to select each one and verify them all at once.
How to Turn Off Automatic Client Messages
If your document is set to Automatically Send on verification, then the Message Client option will appear on the Verification window.
If you want to have this document reviewed by a client coordinator before messaging, turn off the Message Client flag.
This leaves the automatic message in a Unsent status on the Communication Worklist even after approval.
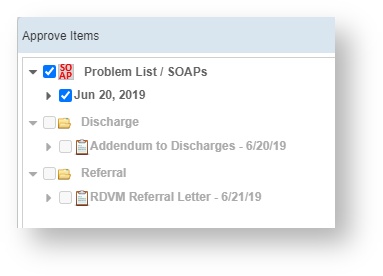
How to Only Verify Some Documents
A user who is missing the rights to verify documents will have some of them grayed out.
In this example, the supervisor has the right to verify the SOAPs, but not the Discharge or Referral letter. Another user with the correct privilege to verify those documents will have to verify them at a later time.
How do I Approve Selected?
Enter in the password and click on Approve Selected.
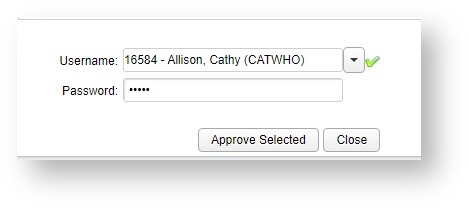
The approval window will close.
Password Security
If you are prompted by your browser to save the entered password, do not click on the Yes button. This would allow your student to enter your authorization on document verification without your consent in the future.
Contact your IT department for best practices around browser and password security, and your hospital's policies.
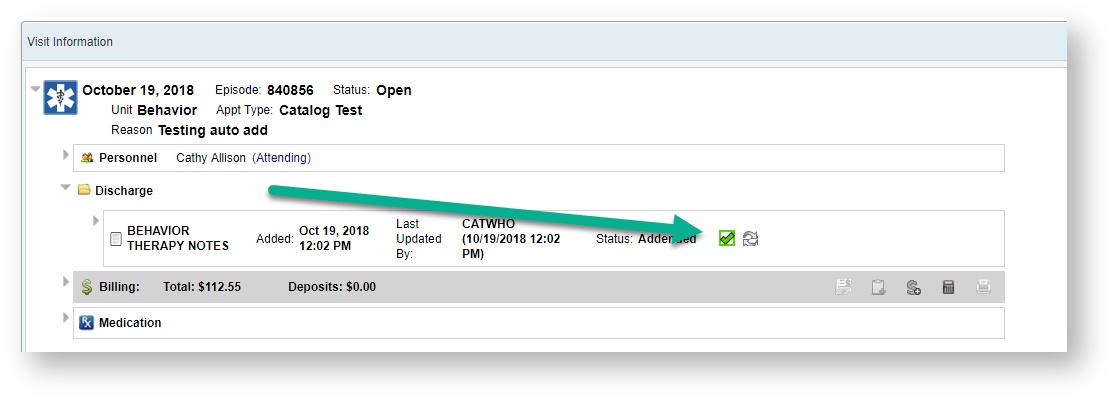
How do I know my document was Verified?
Once approved, the "Requires Verification" text will disappear, and the X icon will change over to a check mark instead.
Verifying Requests
Requests are different from Documents in that they are intended to be handled by a different unit or internal team within the same unit from the initial visit. Because of this, the verification process is a little different for requests.
How to Verify a Request from the Request Screen
Requests on the request screen that require verification will include the red X next to the name of the Request item.
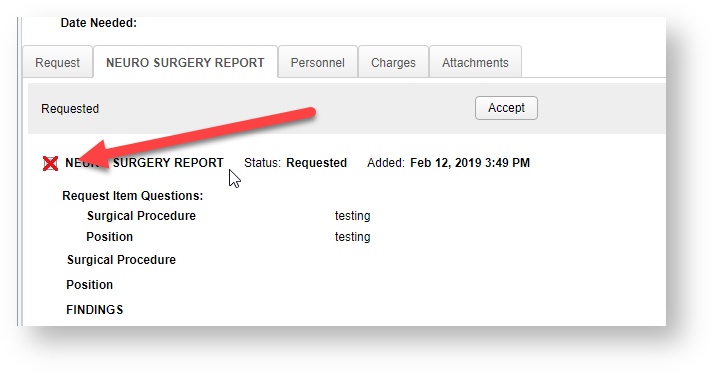
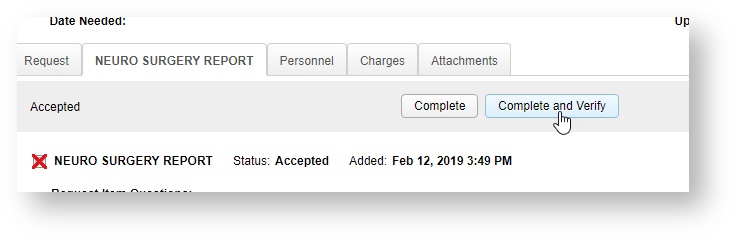
When you are ready to verify this request, you can click the red X. Or you can click on the Complete and Verify button which will mark the request as completed and also verify it in a single step.
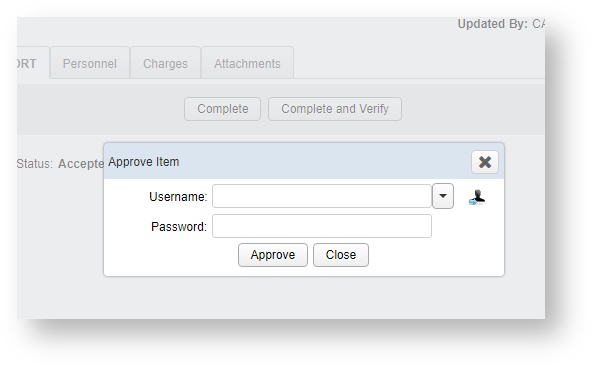
Both options will bring up a small window to enter in the username and password for verification.
How to Verify a Request from the Patient Record
Clinicians can also verify the document from the patient record, if they otherwise have the rights to do so.
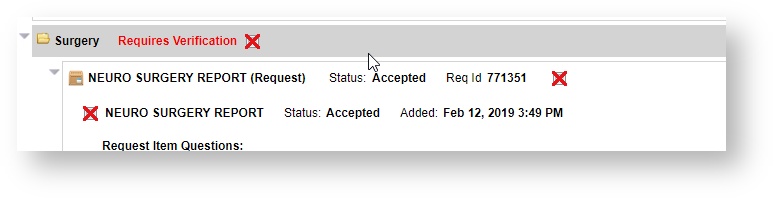
Clicking on the X on this page will bring up the same Verification window that is used for Documents.
VetView Wiki Most recent releases of VetView: Version 5.0.4 (Released 3/10/2025) and 4.2.10 Hotfix (2/28/2025)