Labs Client Management 3.3
- Cathy Allison
Analytics
Labs Client Management in VetView 3.3
Page Navigation
This page has been condensed from its previous format into a single page to allow for live searching. Press CTRL+F to open the browser search and type in the keyword, then press Enter to jump to that part of this screen.
To find information on a specific subtab of this screen, use the Table of Contents on the right hand bar to jump to that tab.
Clients in VetView Labs include all Clinics, RDVMs, and Owners associated with the Patients for submitted samples. The Client Management section of VetView includes a Client Search page and a separate Client Information page that has multiple subtabs to allow quick separate of information.
Client Search
The Client Search window is accessed from the VetView Header Bar or from Navigation. Client pages can also be accessed directly via hotlinks on Accessions.
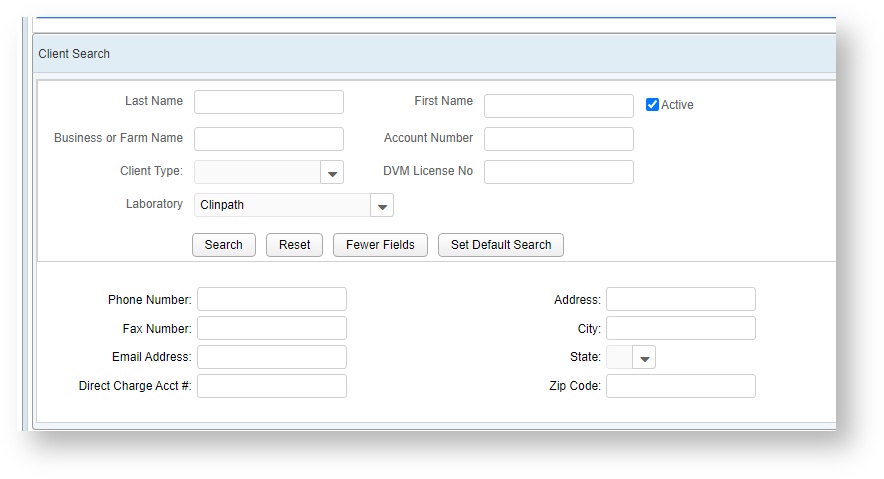
Client Search Window
At the top of Client Search page is a window to enter in search parameters. The most common search fields, such as last name or account number, are always visible. However, you can also access additional fields by clicking on the More Fields button. To shrink them again, click on Fewer Fields.
Client Search Results
Results for your search will output into the window below. Click on the account number or the name to open the Client page.
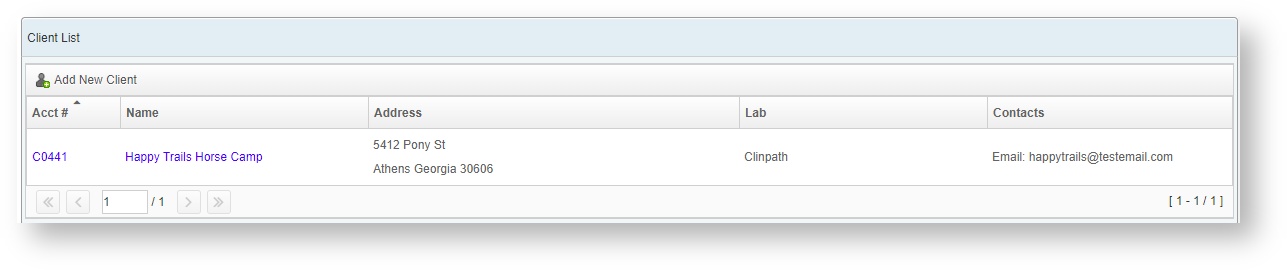
Add a New Client
Clicking on the ![]() Add New Client button to open the New Client Window.
Add New Client button to open the New Client Window.
This page also functions as a search, and any potential matches from existing clients will appear on the right hand column.
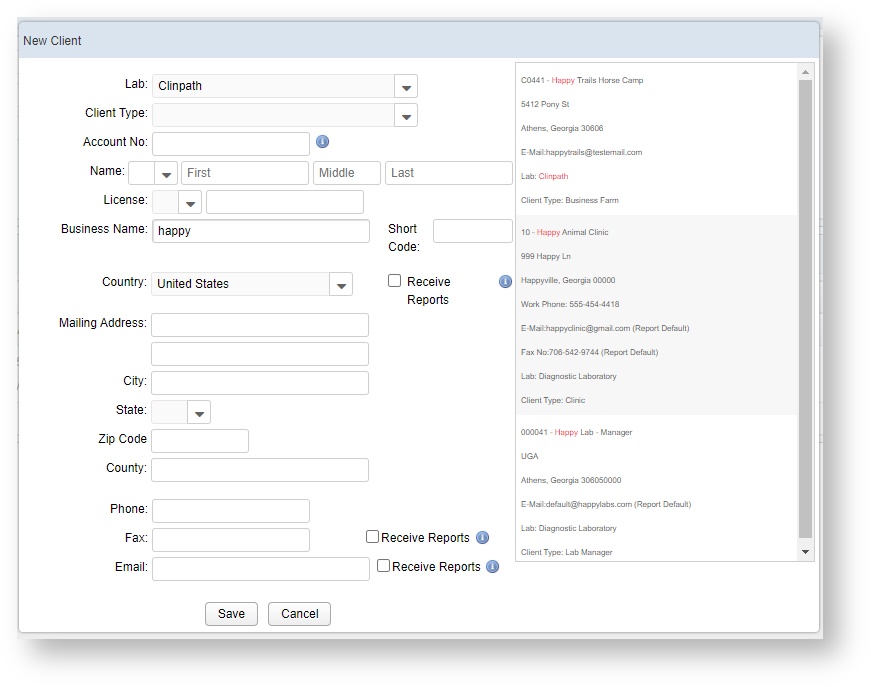
Click on the Save button to add the new client. Or, if your client already exists, double click the matching account on the right to go straight to their account.
Client Information
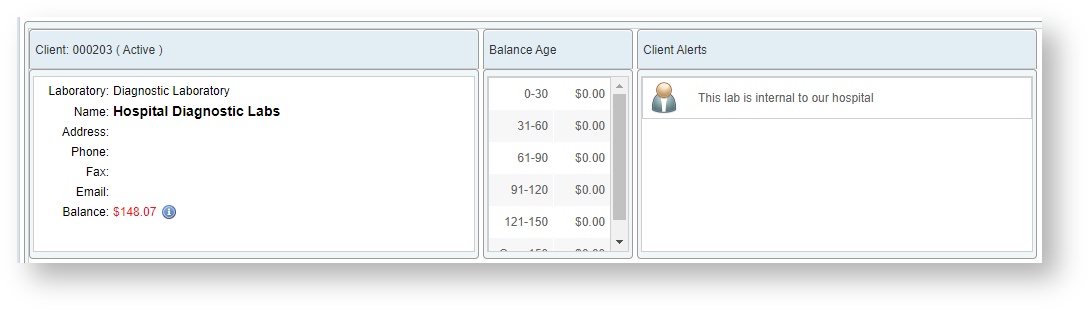
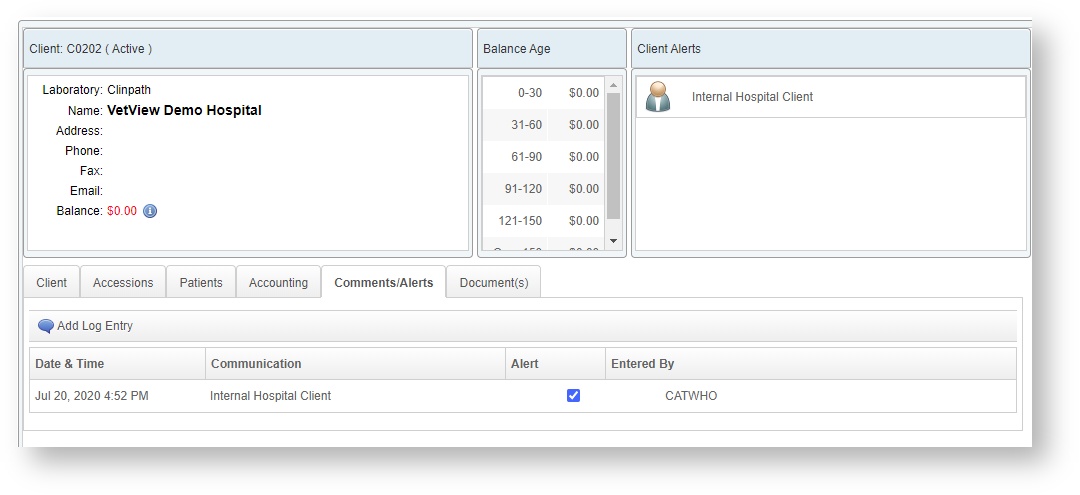
At the top of the Client screen is a small section that includes the current contact information of the client, any unpaid balances owed and the balance age, and client alerts.
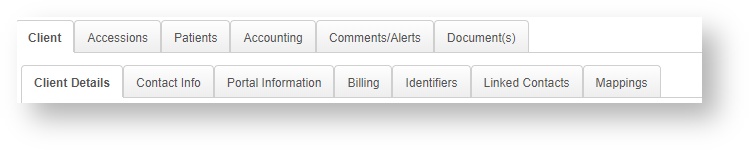
Client Tab
This tab includes several subtabs to view and modify client details, contact information, and links within VetView to other clients.
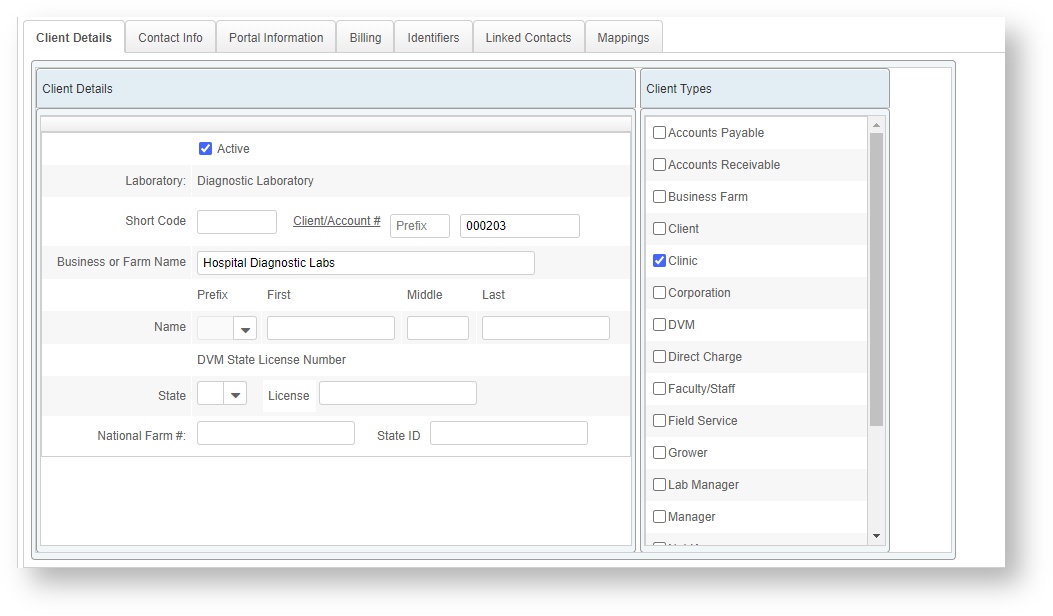
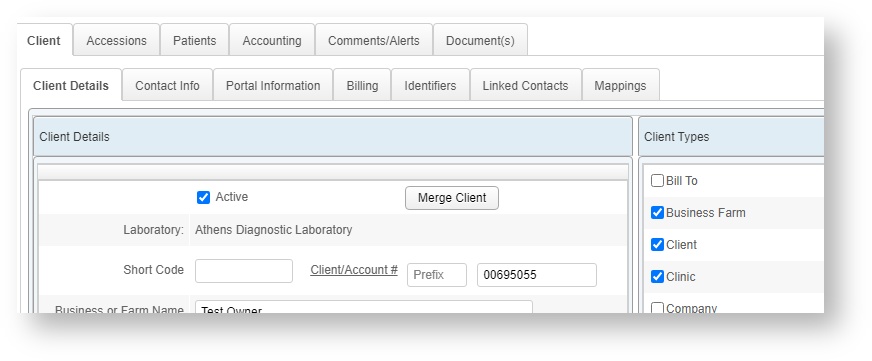
Client Details
This tab allows you to modify basic information about the client. You can update the client type, enter in license numbers for both state and national registration, and update the contact name or business name for the client.
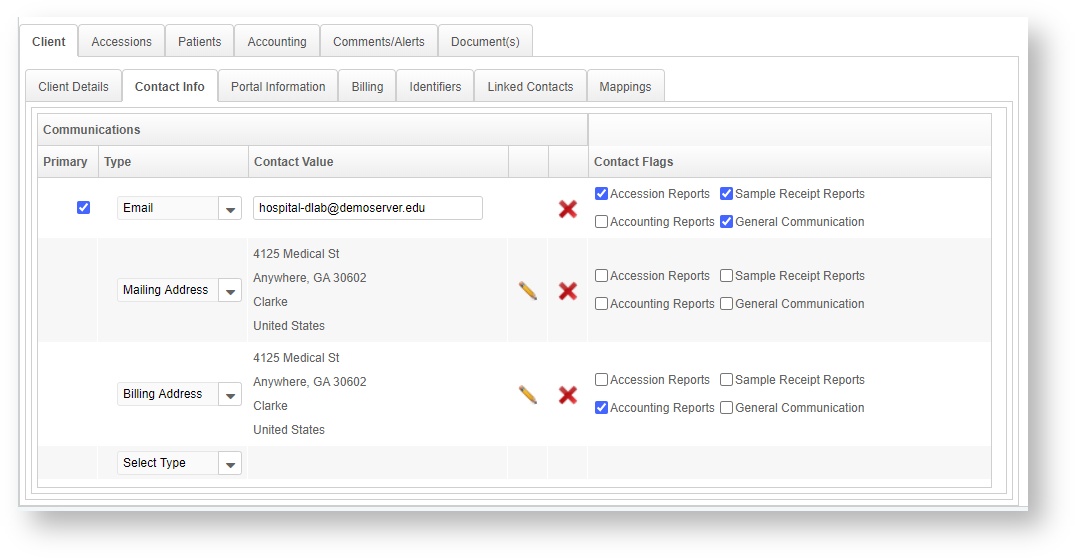
Contact Info
This tab is used to add additional contact information to a client's screen. This can include, but is not limited to, email addresses, fax numbers, and additional phone numbers.
This is also where you can indicate what kind of reports should be sent to each contact method. For example, some clients may prefer everything sent by fax. others may want certain things sent via email but their accounting information should be sent via hard copy in USPS.
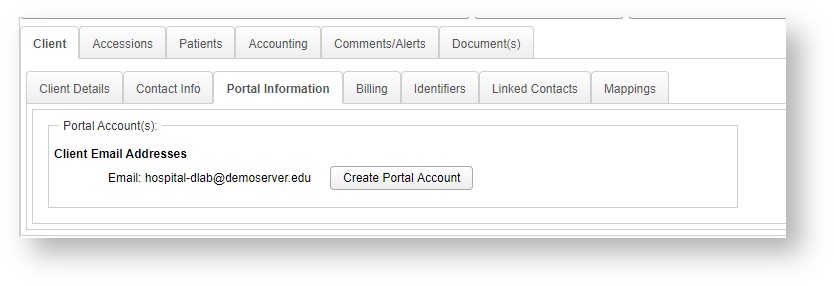
Portal Information
This tab displays any linked portal accounts. If no account is linked, this tab allows you to create an account using the client's email address, then send a welcome email.
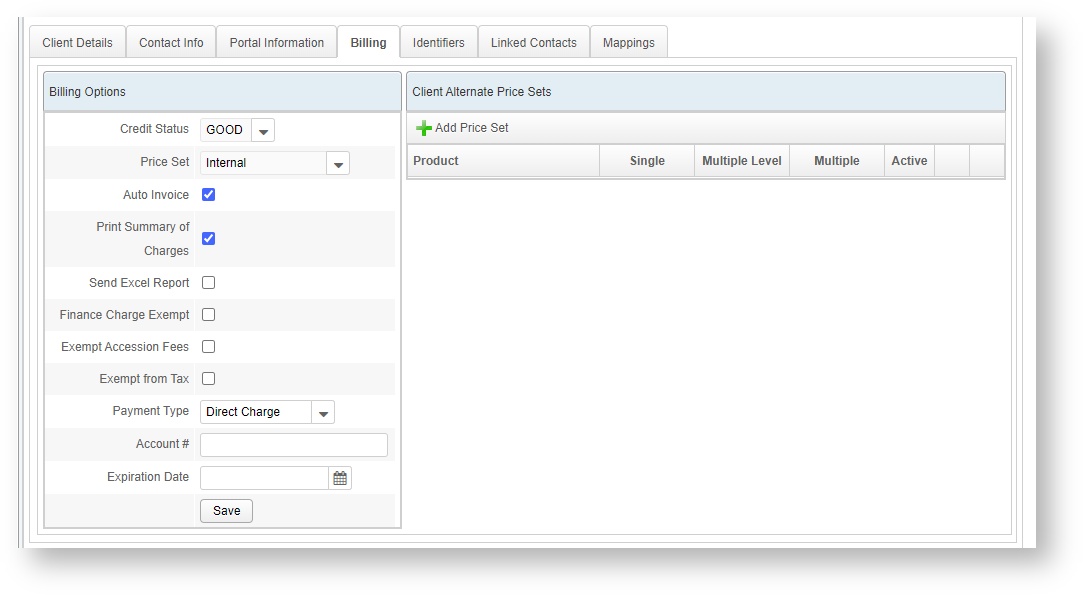
Billing
This tab sets the billing address and the billing options for the client. Price sets can be customized for your particular labs under the Product Setup > Price Set Setup tabs. For special clients who have negotiated rates on particular tests, you can create an alternate price set for those specific tests to give them the new price automatically (e.g. a horse farm has negotiated a discount for their annual Coggins tests but will pay full price for any other tests.)
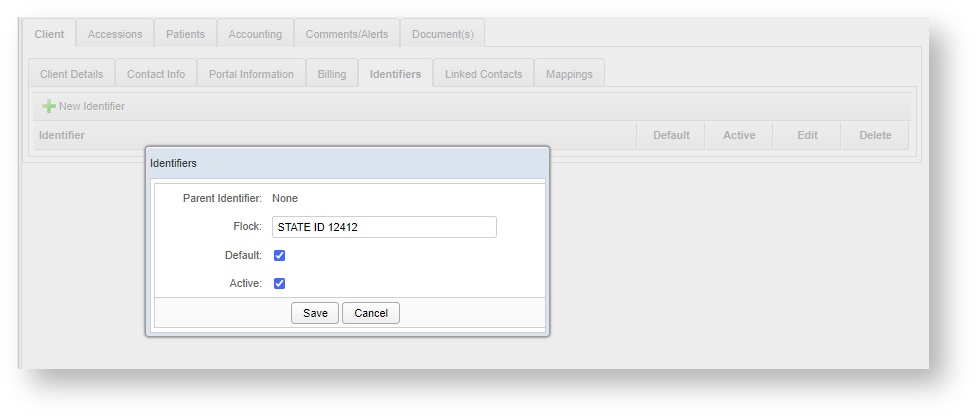
Identifiers
This tab is used to add, remove, or define any custom identifiers associated with that particular client. Identifiers can be nested. This feature can be used to track information required by your state that does not already have a custom VetView field, such as state farm registration, herd numbers, flock numbers, etc.
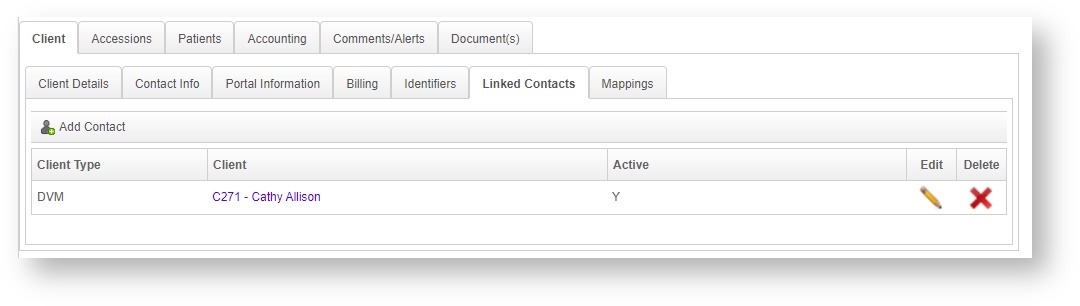
Linked Contacts
This tab is used to add contacts that will be associated with a client (so that they can also receive accession reports).
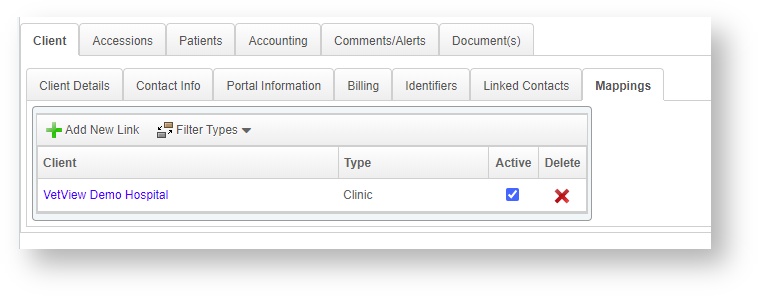
Mappings
This tab is used to create/manage the mappings (links) between clients that drive the automatic short-listing or automatic-client-filling that can occur when editing the Accession Header on the Accession Screen.
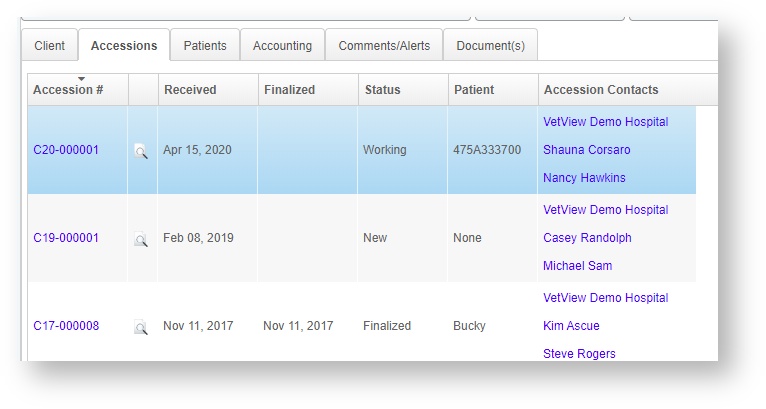
Accessions
This tab displays and links to all accessions associated with this client. Click on the hourglass icon to View Accession Report in PDF format and print it if needed.
Patients
This tab shows all the patients that have been associated with this client on an accession, and also allows you to add new patients or merge existing patients.
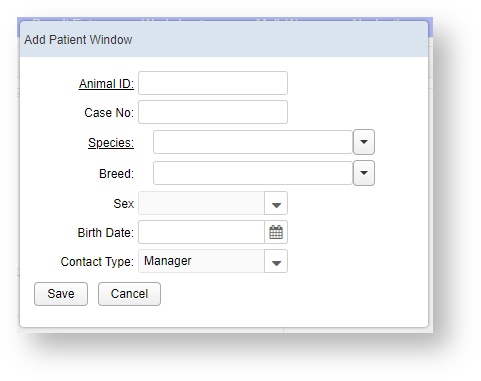
Add/Merge
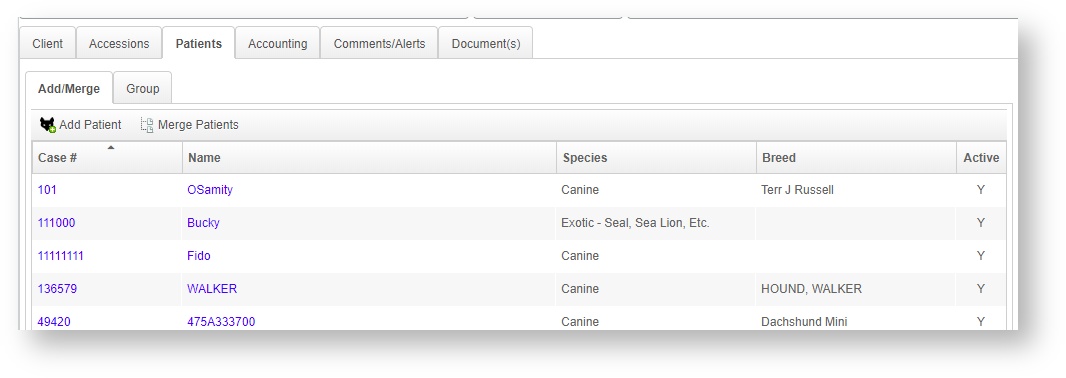
Click on the ![]() Add Patient button to manually create a new patient. (If you are processing an Accession in Receiving, this step is best done on the Accession screen itself.)
Add Patient button to manually create a new patient. (If you are processing an Accession in Receiving, this step is best done on the Accession screen itself.)
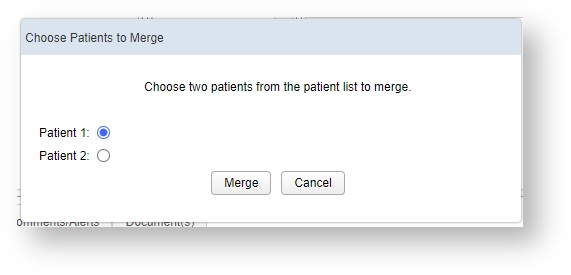
Merge Patients allows you to combine the record history of two separate patients into a single one. Use this if a second patient was accidentally created while processing an accession. You will be allowed to choose what information from each client record to keep.
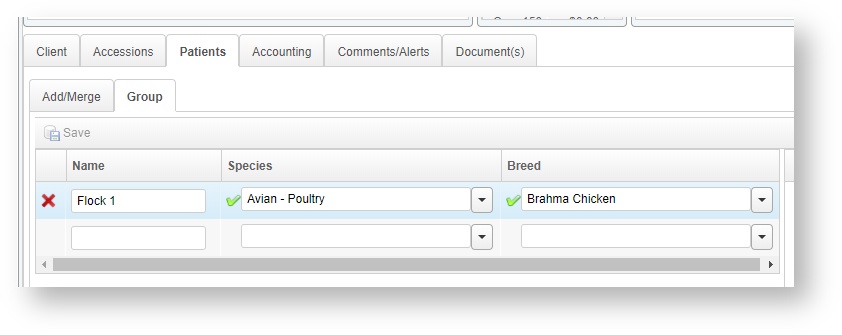
Group
For clients such as farms that will need to record testing against entire groups, you can create a Group Patient and associate to the client.
Accounting
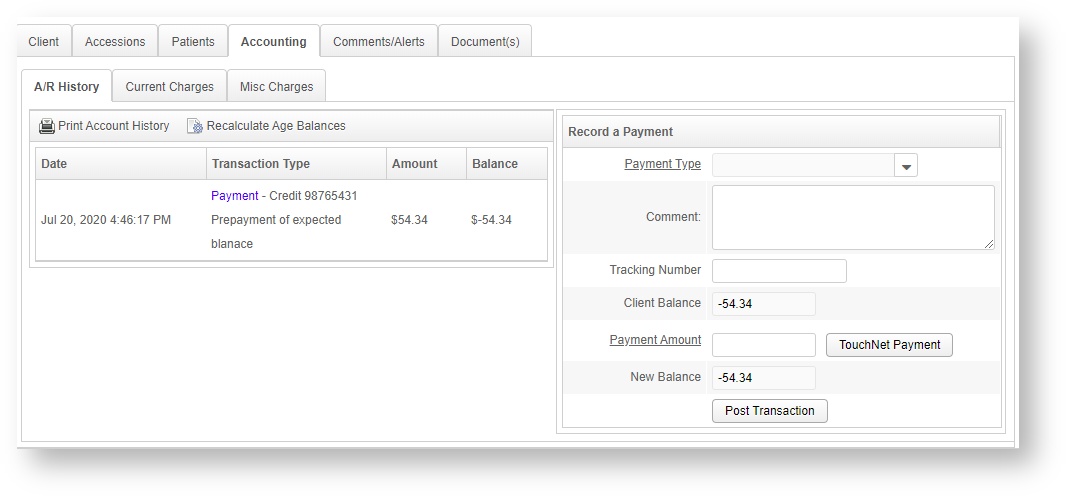
A/R History
This tab is used to view and post payments to the client's account. VetView has the ability to launch an external website for credit card processing, if that has been set up for your lab.
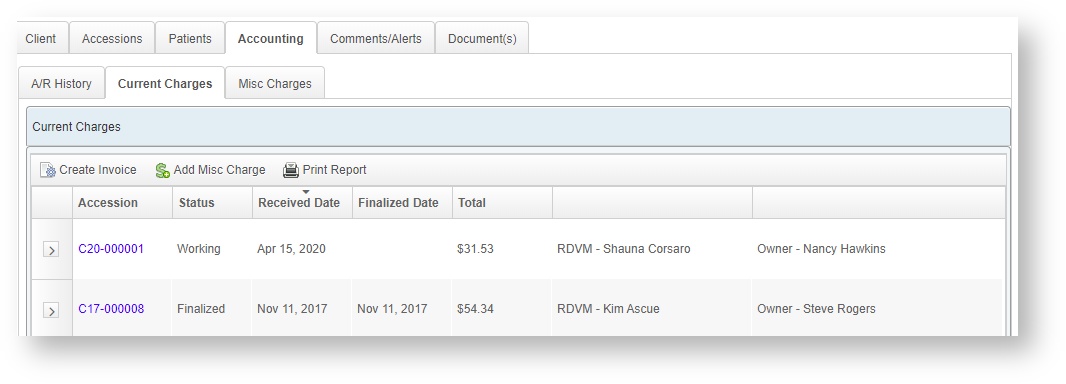
Current Charges
This tab is used to view a client's charges, add miscellaneous charges, edit charges, and generate invoices. Many of these functions are duplicates of parts of the Accounting Screen.
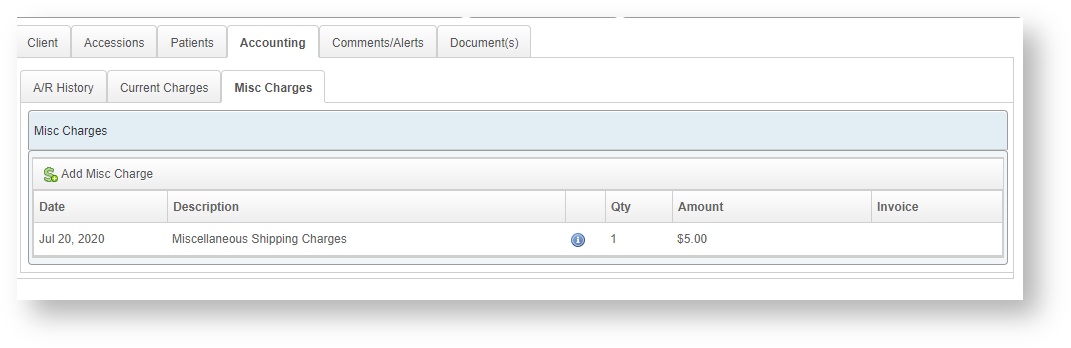
Misc Charges
This tab is used to view and add miscellaneous charges to a client's account. Many of these functions are duplicates of parts of the Accounting Screen.
Comments/Alerts
This tab is used to enter comments and alerts associated with a client. Client Alerts will appear at the top of the screen.
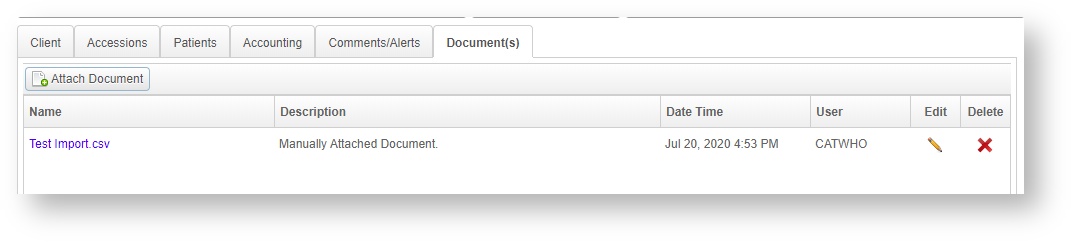
Document(s)
This tab is used to attach or delete any files/documents to a client's record. These can be any external files faxed in alongside a request, or other information that must remain associated with the client.
Merge Clients (VetView 3.3)
If the logged in user has the privilege to Merge Clients then a button will appear on the Client tab.
Select the second client to be merged using the search box.
You can switch them after searching, if you want the searched for Client to be the final client left after the Merge process, by clicking the Switch button next to the Destination client's name.
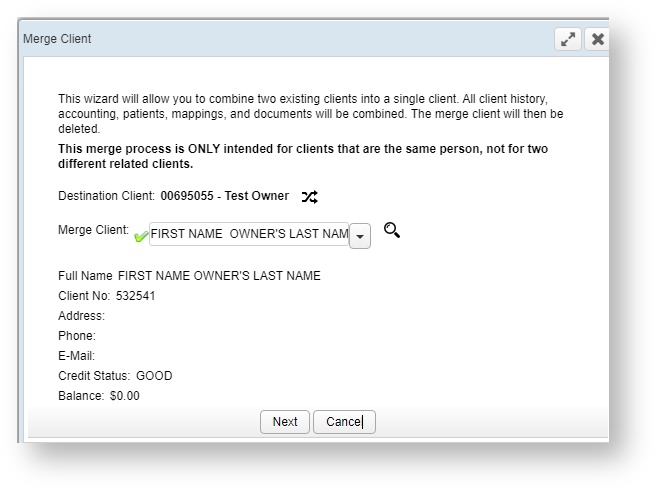
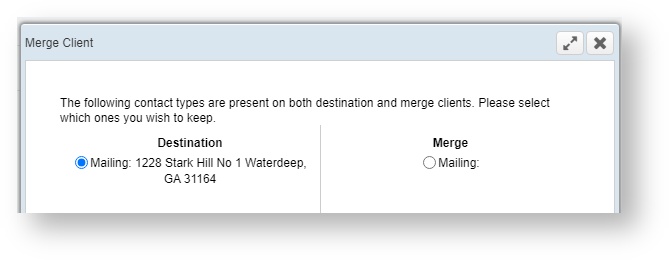
After clicking Next you may be asked to choose which parts of the client record remain after the merge.
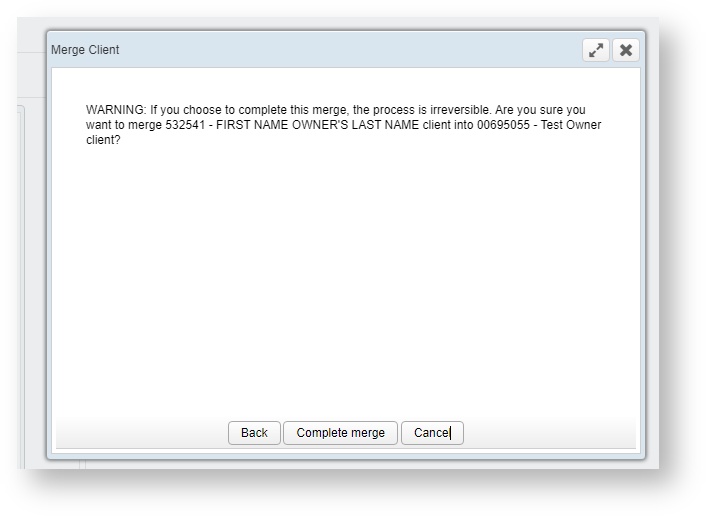
Click on the Complete Merge button to finish the process. The merged client's records, including all patients and invoices, will be moved to the Destination client. The merged client will then be deleted from the system.
VetView Wiki Most recent releases of VetView: Version 5.0.2 and 4.2.8 Hotfix (Released 12/20/2024)