Labs Quality Control
- Anonymous
Cathy Allison
Quality Control Screen
The Quality Control Screen is a privilege locked screen for a QC team to perform calibration of testing equipment, reagents, and other tools used in testing. This screen allows you to track the calibration of testing materials on a per machine or per lot basis as needed.
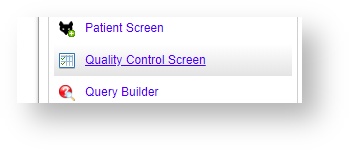
This screen is accessed under the Navigation Menu only and does not appear on the main tool bar.
Control Search
If you have already entered a control and want to find it or alter it, you can enter a key word in the Control Search window and output the results in the window below.

Control Search Results
On the initial load of this screen, all available controls will initially appear in this list. If you searched above the list, then the controls will narrow down to only matching keywords.

Click on a Control in the list to display any lot numbers currently associated with it.
Create a New Control
Click on the ![]() Add button to the window to Add QC Material. A small window will open.
Add button to the window to Add QC Material. A small window will open.
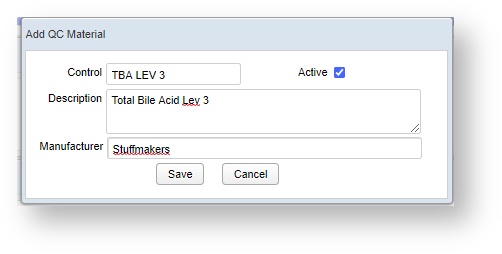
Enter in the short name or acronym of the QC Control material, the longer description, and if decided the manufacturer. You can leave the material inactive until additional data has been added under the details tabs.
Other options on the Control Search Results window
Edit a Control
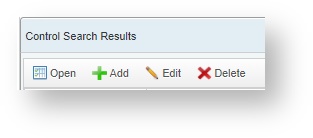
Click on the Edit button to open the basic control window and make changes. You can also set an older control to Inactive if it will no longer be used.
Delete a Control
If a duplicate control is added by accident, it can safely be deleted if no other information has been entered. For controls that will no longer be used, Delete will not work. They should be edited and deactivated instead.
Open a New or Existing Control
Select the Control you want to edit on the Control Search Results list. Click on the Open button to go to the Control Details Screen.
Control Details Screen
This screen is intended to allow for the fastest workflow upon opening, which means the final step of Result Entry will be the first to load. For calibrating a new Control, we strongly recommend starting at the final tab (Rules Setup) and working your way forward to complete the set up.
Result Entry Tab
The Result Entry tab allows you to add the test results of the control of a specific lot. Click on the ![]() Add button to choose the lot.
Add button to choose the lot.
A VetView Worksheet style page will load to allow you to enter the results of the QC test.
You can expand the row to see a graph of the previous results for that lot number, and to enter a comment.
Set the status to Finalized and click on the Save button at the top to add these results to the Lot's history on the Review Results tab.

Review Results Tab
This tab allows you to easily compare the results of tests performed using the reagents associated with a specific lot, or with a specific result, or during a specific date range.

Graph on Review Results
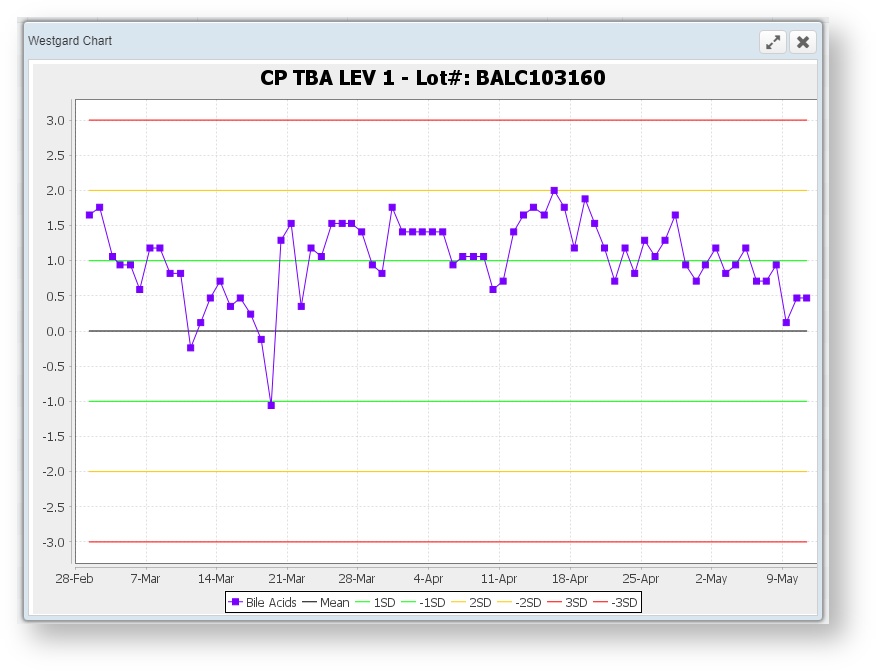
You can review all these results in graphical form by clicking on the Graph button.
Lot Setup Tab
This tab allows you to record the specific lot numbers you will be testing. Lots can be added and edited, and deleted if they are added by accident. (Lots can only be deleted if no QC has been performed against them.)

Results for each lot on a test will appear on this, so a test with multiple lots can have the outcome of each test checked against each other in one place.
Results Setup Tab
This tab allows you to determine what results should be available for this test.
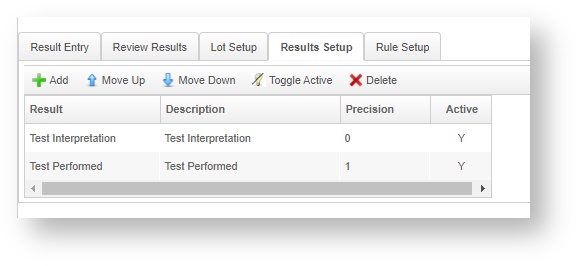
The ![]() Add button allows you to add a new result. The results list pulls from the Result Setup page, and new results can be added there if necessary.
Add button allows you to add a new result. The results list pulls from the Result Setup page, and new results can be added there if necessary.
This page also allows you to set an order for the way results should be displayed, with the most expected results at the top for large result sets.
You can make a result active or inactive, or delete a Result, as opposed to manually editing the results list.
For a new control, this may be the first tab to begin filling out.
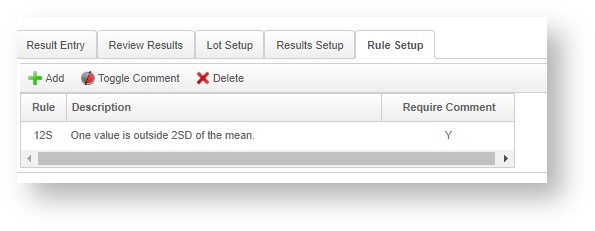
Add a New Rule
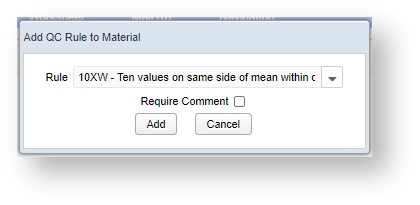
Click on the Add button to open the rules set. Rules are pre-defined but can be customized for each test on this list.
You can also choose to require a comment. The need for comments can be toggled on and off without deleting the rule, if you make a change in procedures in the future.
VetView Wiki Most recent releases of VetView: Version 5.06 (released 8/1/2025)
4.2.12 (released 5/16/2025)