Labs Requests
- Anonymous
Cathy Allison
Rainey Lynch (Unlicensed)
Labs Requests
The Labs Request screen is optimized for larger monitors of at least 1080p. For smaller monitors, a scroll bar is available on the bottom of the Request List to view all the columns.
The Labs Request screen allows you to search for requests incoming from the VetView or UVIS hospital modules, or from external labs that have electronic submission capabilities to your VetView system.
These requests can be manually reviewed by your staff before being transformed into Accessions. Requests that are submitted on paper should be processed through the Accession screen itself to create a new accession. A new electronic request cannot be created in the VetView labs module, as by its definition a Request is from an external electronic source.
Request Filter
On the top left of the Requests screen is a search / filter section to allow you to find incoming requests to process.

Since certain tests can be set to Auto-Accept, the Search filter can be set to default to only Error state requests that could not be automatically accepted and turned into an accession. This allows you to find these Requests, and make the necessary corrections.
For Requests that do not have Auto-Accept turned on, you can search by Lab, the submitting user (from VetView Hospital), the client, or information such as the patient name or case number if that is known. You can also filter by the date range.
Request ID Quick Search
If you already have the Request ID (such as from an incoming sample) you can quickly search for the associated request from that specimen to build the accession for it.
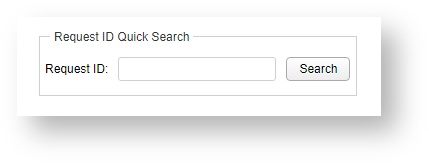
Results will output in the Request List so you can verify it is the correct Request before starting to build the accession.
Request List
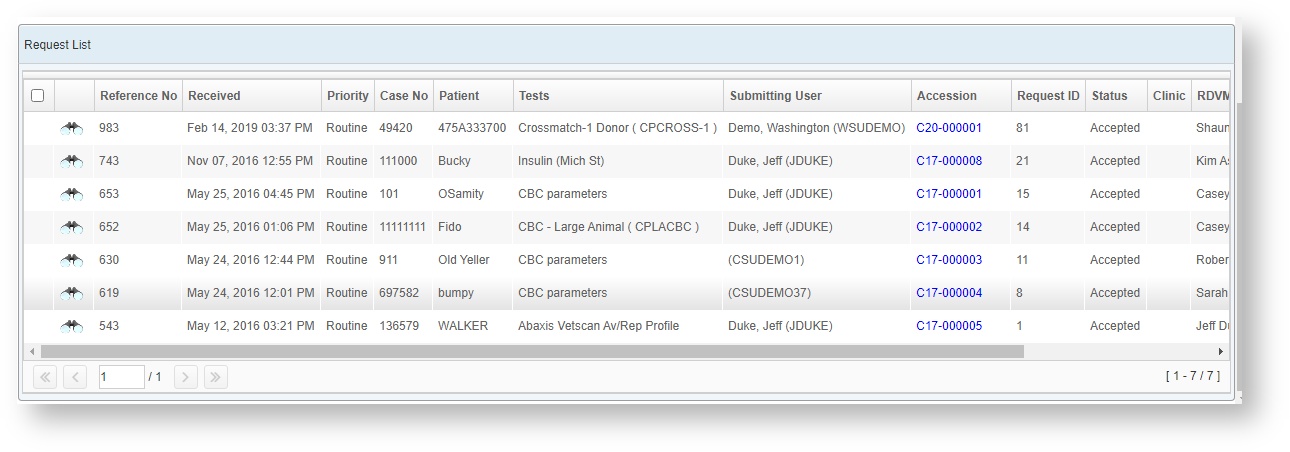
The Request List contains the output of the Search results, or the matching Request from the Request ID Quick Search.
Click on the binoculars icon to view the Request Details. Use the scroll bar to preview all columns if you are on a smaller monitor.
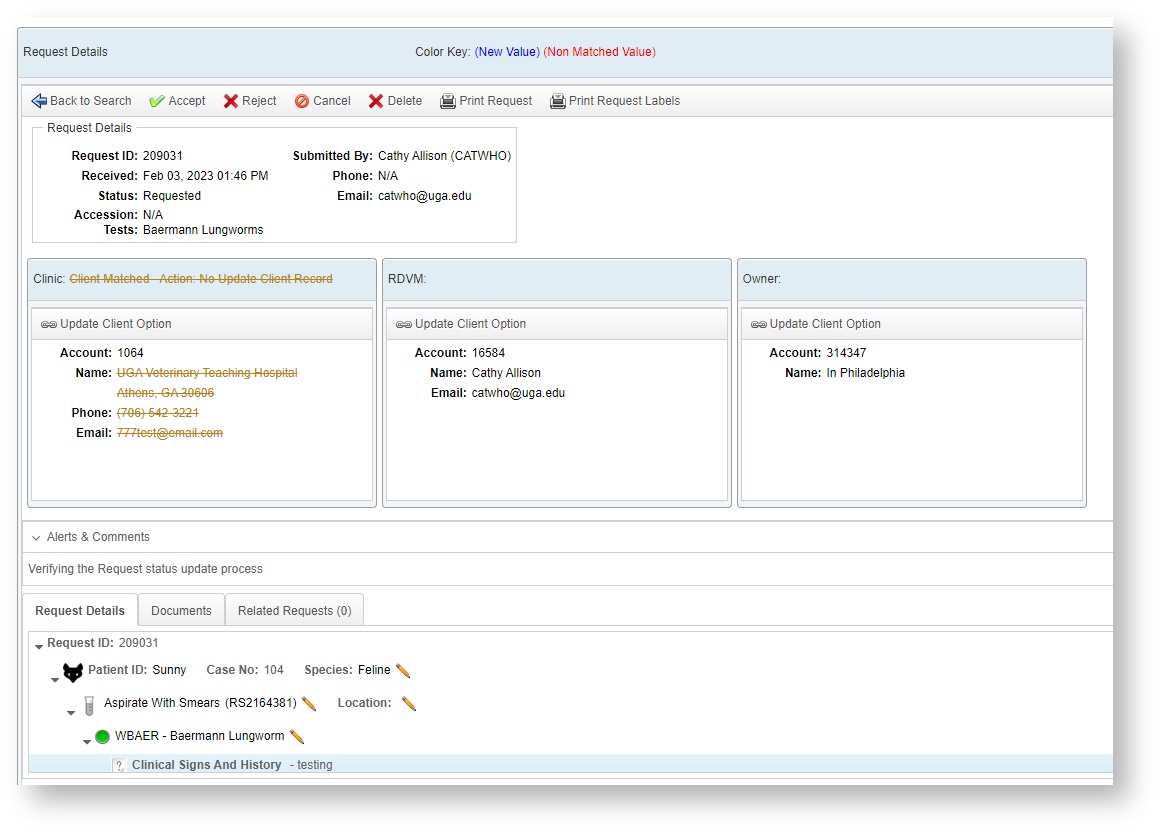
Request Details Screen
This screen allows you to preview the information that was sent over in the Request, and correct errors if needed before creating an accession.
Errors in this case may be a Hospital client that does not have a match in the Labs system. You can click on Resolve Conflict to link records and correct the errors.
You can also add tests, change tests, or map a requested Hospital test item to the correct Labs catalog test item.
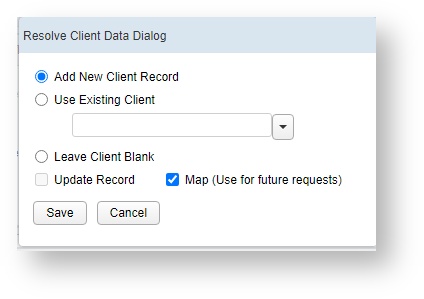
Resolve Client Conflicts
When you click on Resolve Conflict, a small window opens up that allows you to add a new client record to the Labs system, or search for a match to an existing client.
Map for Future Requests forms a more permanent link between the Hospital Client and the Lab Client that can be used again automatically in the future.
Resolve Test Conflicts
If the Hospital Catalog item is not correct mapped to a Labs Catalog Item, you can choose the correct test by clicking the Link button.
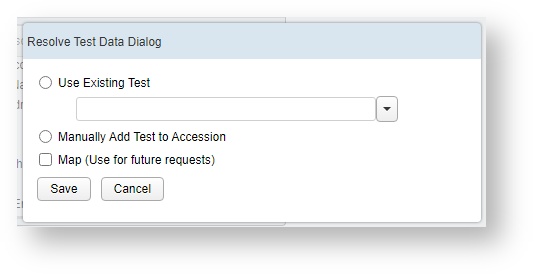
Map for future user will create a more permanent link between the two tests. Uncheck this button if you are only doing a one time correction.
Other Request Details Options
At the top of the page, above the Request Details Header, are a series of options for the Request.

- Back to Search: Takes you back to the Request Search screen, if you clicked the wrong request by accident
- Print Request: Opens the Request Details report to allow you to print this screen into PDF format
- Accept: If all errors have been resolved, you can Accept the request and start the process of building the Accession from it
- Reject: If the Request cannot be performed, for example your lab or section does not handle that test, it can be Rejected with a message to the user who requested as to why
- Cancel: If you received a request from the submitting users to cancel the request, it can be cancelled here, including a message as to why it was cancelled
- Print Request Labels: This will print the bar code labels to the designated label printer, in prepararation for building the accession
- Delete: An Admin privilege to delete an accession, for example if it was accidentally submitted twice
Attached Request Documents
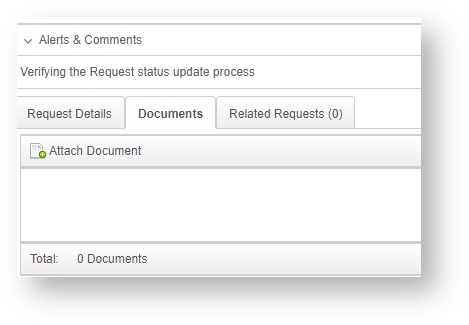
Requests submitted through a Lab Portal may have attached documents, such as the initial assessment from the local lab or clinic that triggered the request, or supporting information for the animal.
You can also manually add documents to the Request on this screen. They will follow the Request through after it is released as an Accession.
Related Requests
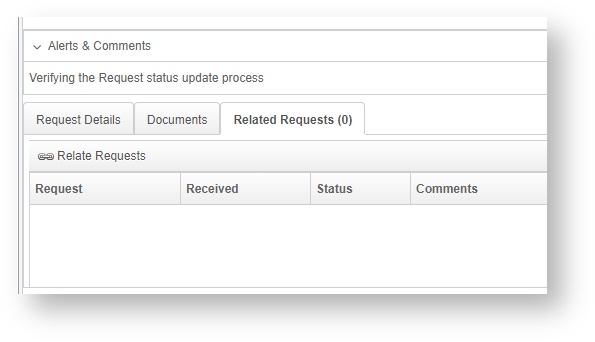
If multiple requests were submitted together, they can be related to each other on this tab.
Related Requests will follow through when the request is released, and become Related Accessions.
VetView Wiki Most recent releases of VetView: Version 5.0.4 (Released 3/10/2025) and 4.2.10 Hotfix (2/28/2025)